I was pretty excited about this project because I haven’t done much “reno” in the house. When we bought the house, I actually got the builder to do most of the heavy lifting – yes it was expensive. But we had a toddler and I didn’t have all the time in the world to unpack my 80 boxes, decorate and reno the floors like I did in my last house. I just really wanted to move into a ready to live “perfect” home. Which was the BEST decision I could ever made. I don’t think I would be able to live through the flooring installations again and the backslash in the kitchen. It was pure hell.
Here are some of my Inspirations for baby #2 room:
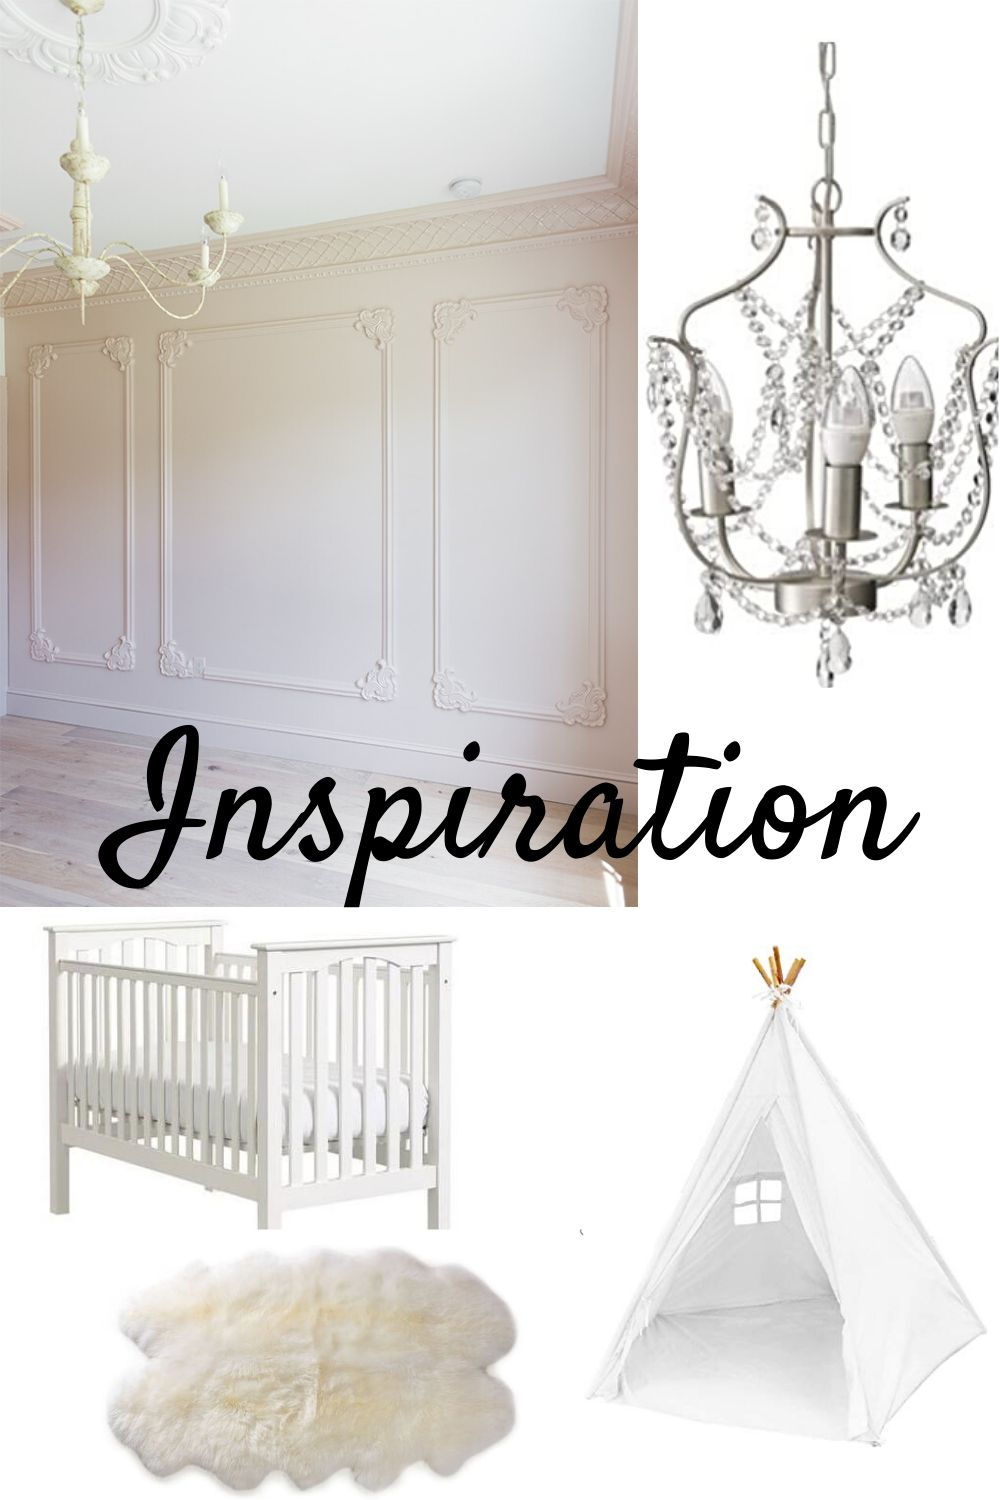
- The Frame was inspired by via Jeanna Design
- Ikea Chandelier
- Pottery Barn Kids Crib
- Tee Pee
- Sheep Rug
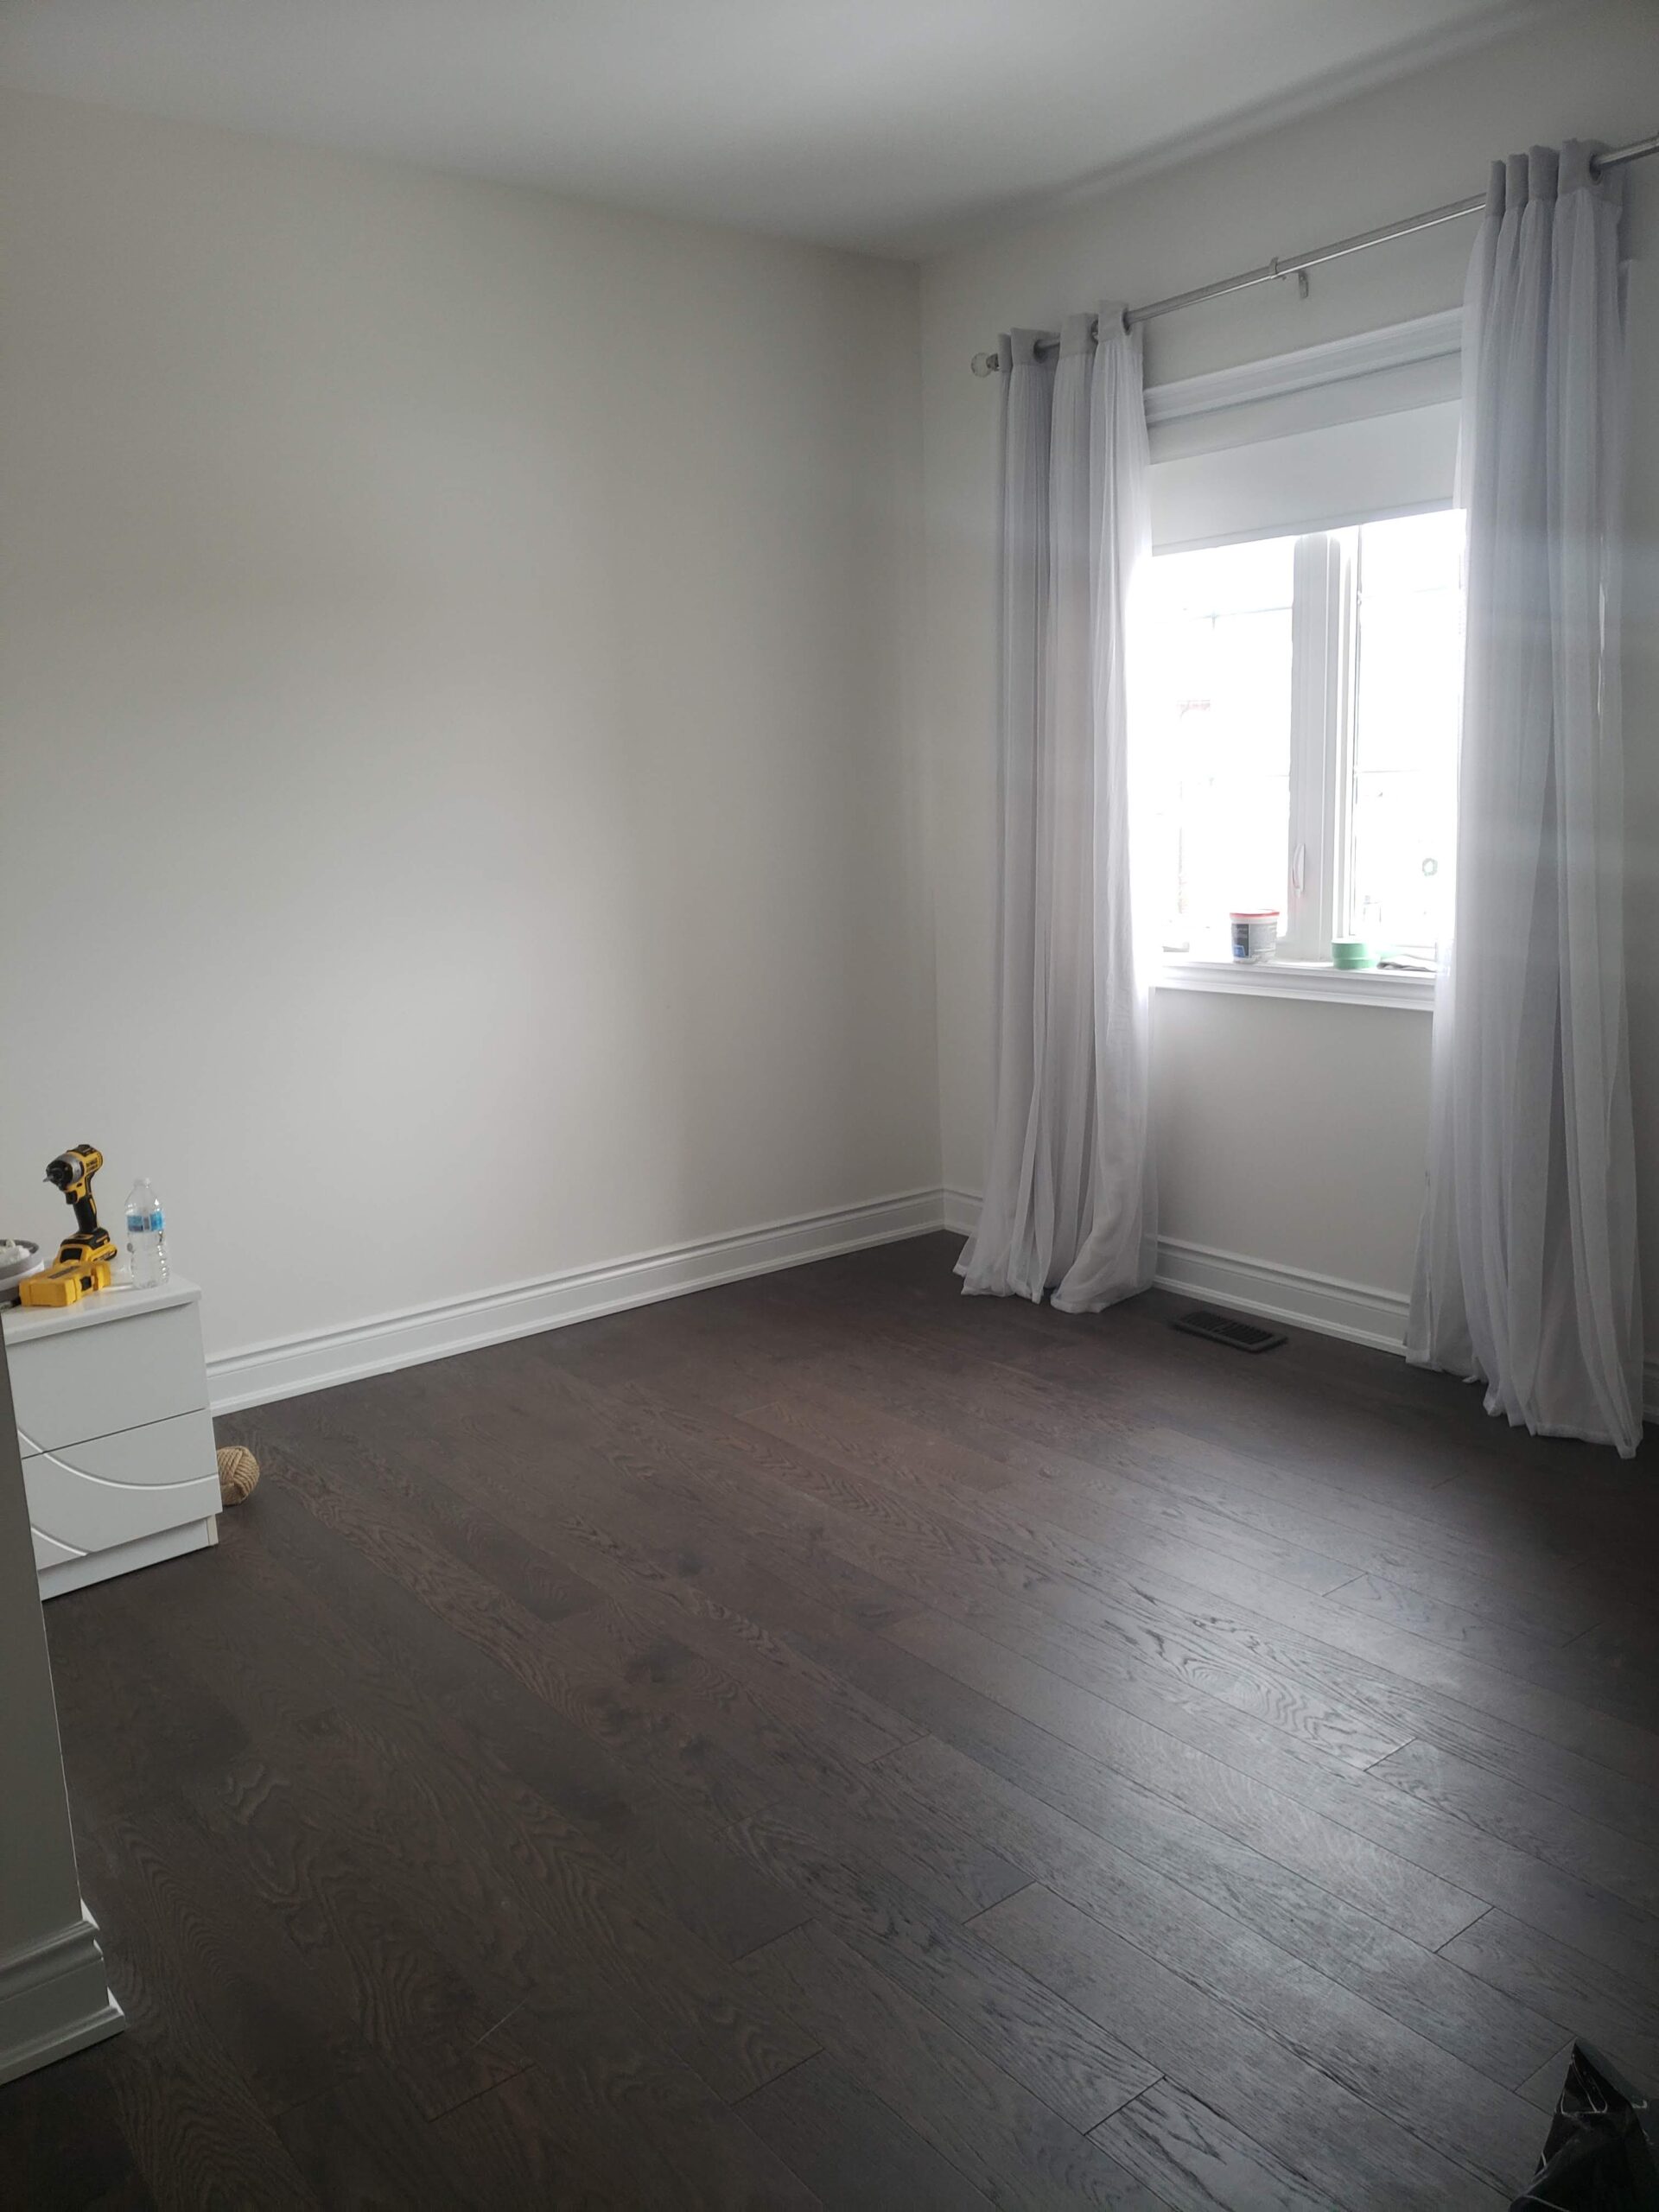
I love the frames in the room and I wanted this in both the girls room. I didn’t end up using the framed crowns – although that’s a easy fix if I ever wanted to add it back to the frame. The first thing we did was paint the room! Here’s the before picture, it’s just a plain white room with the original paint.
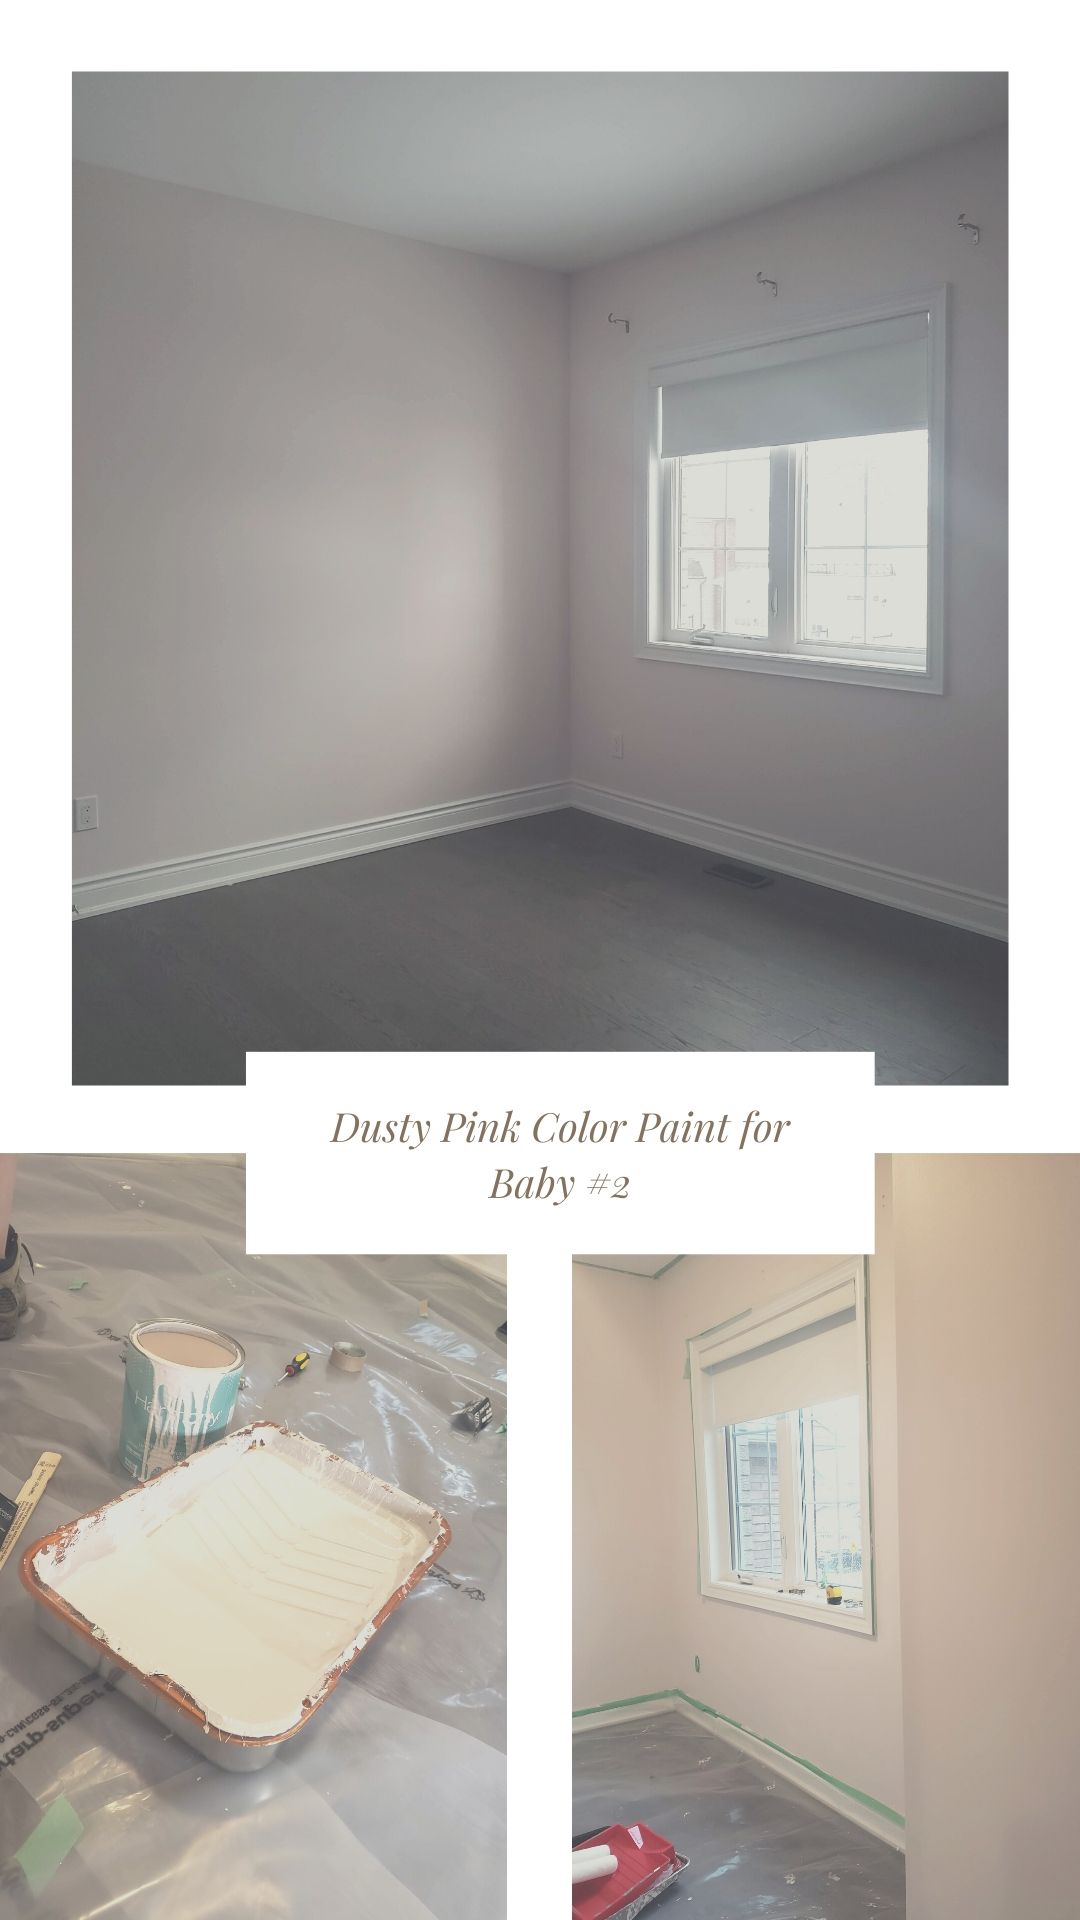
I decided to go with a dusty pink paint for baby #2 room: Match of Sherwin Williams™ SW2284 Dusty Pink.

Isn’t this color soooooooooooooooo pretty?!
Once that’s completed, the wainscoting frames are ready to go in.
Here’s what you will need, this is based on a 9X10 ft room.
- 25 sticks of the 8ft Fiber Board $7.41
- Miltre saw that lets you cut 45 degree angle (see pic below)
- Wood stapler (see pic below)

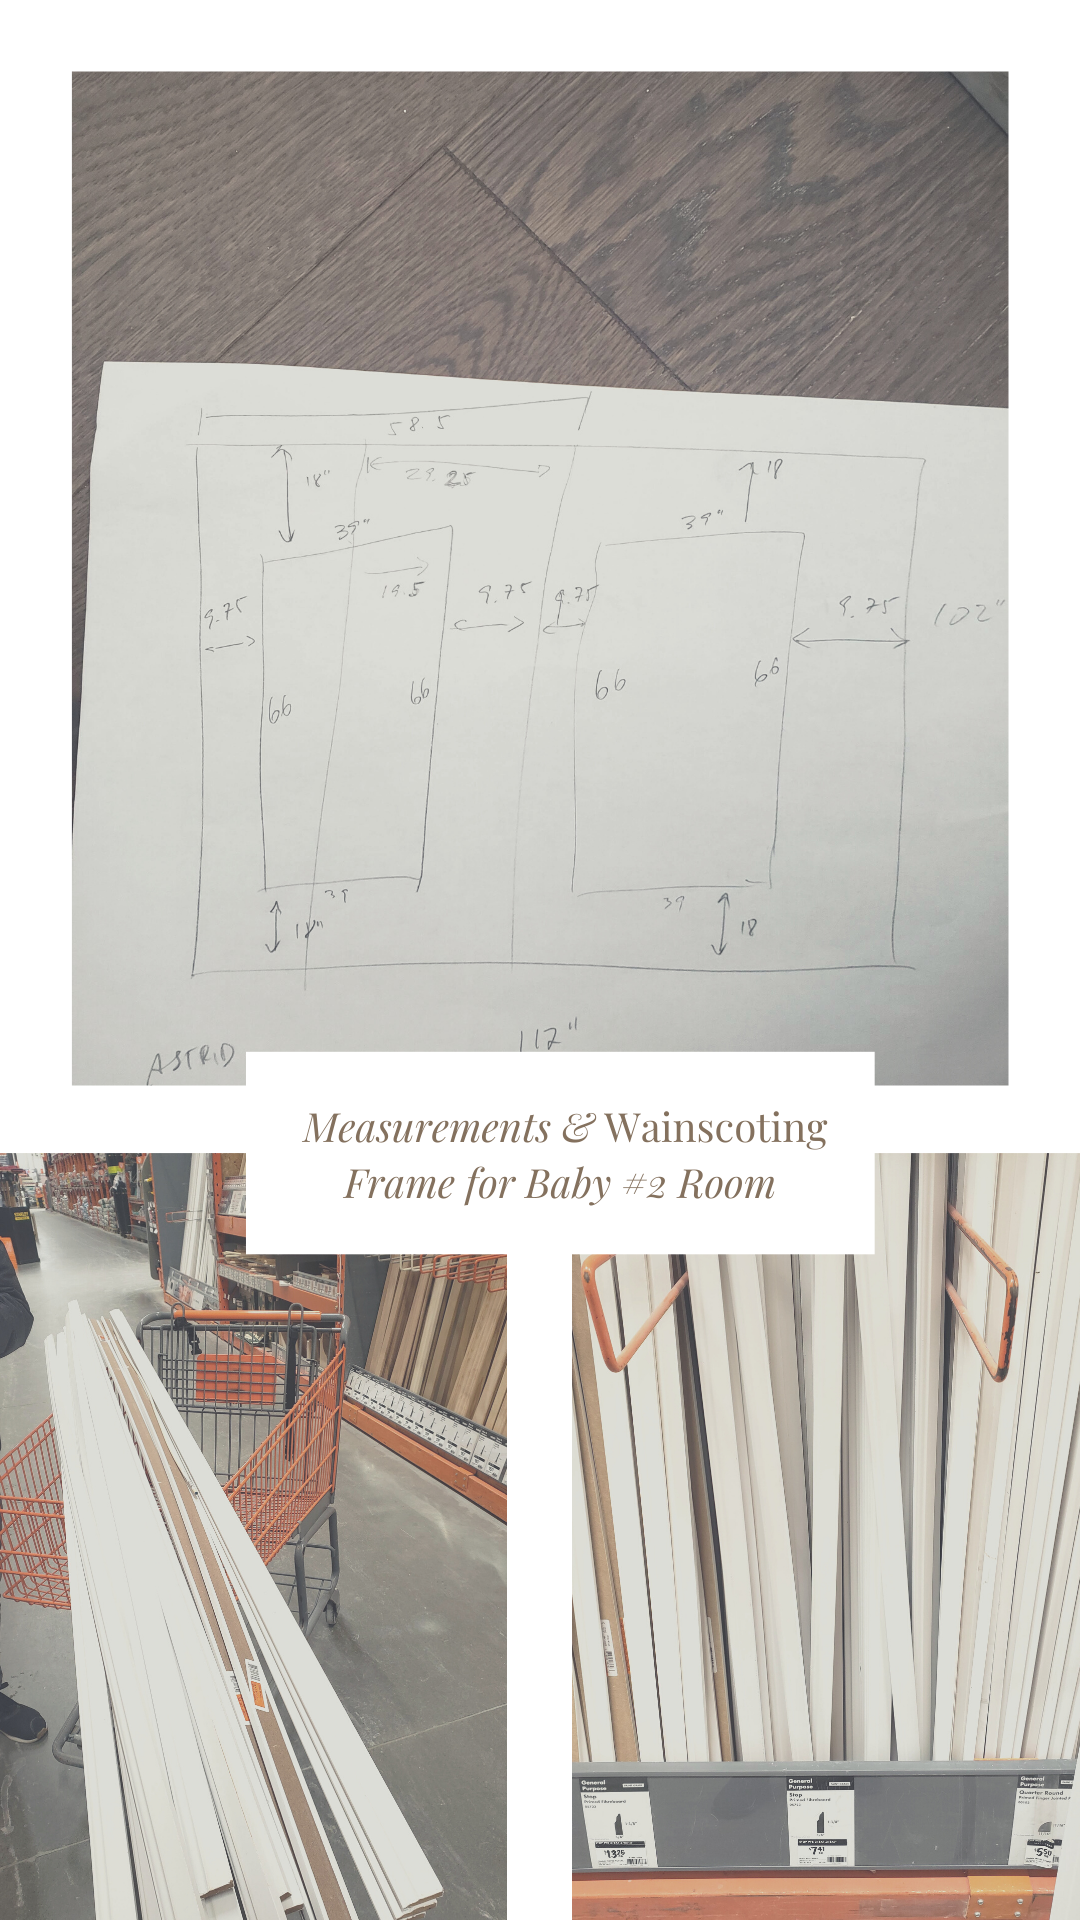
This part was actually pretty simple, you just need to make sure you are measuring properly and making sure everything is lined up the way it should be!
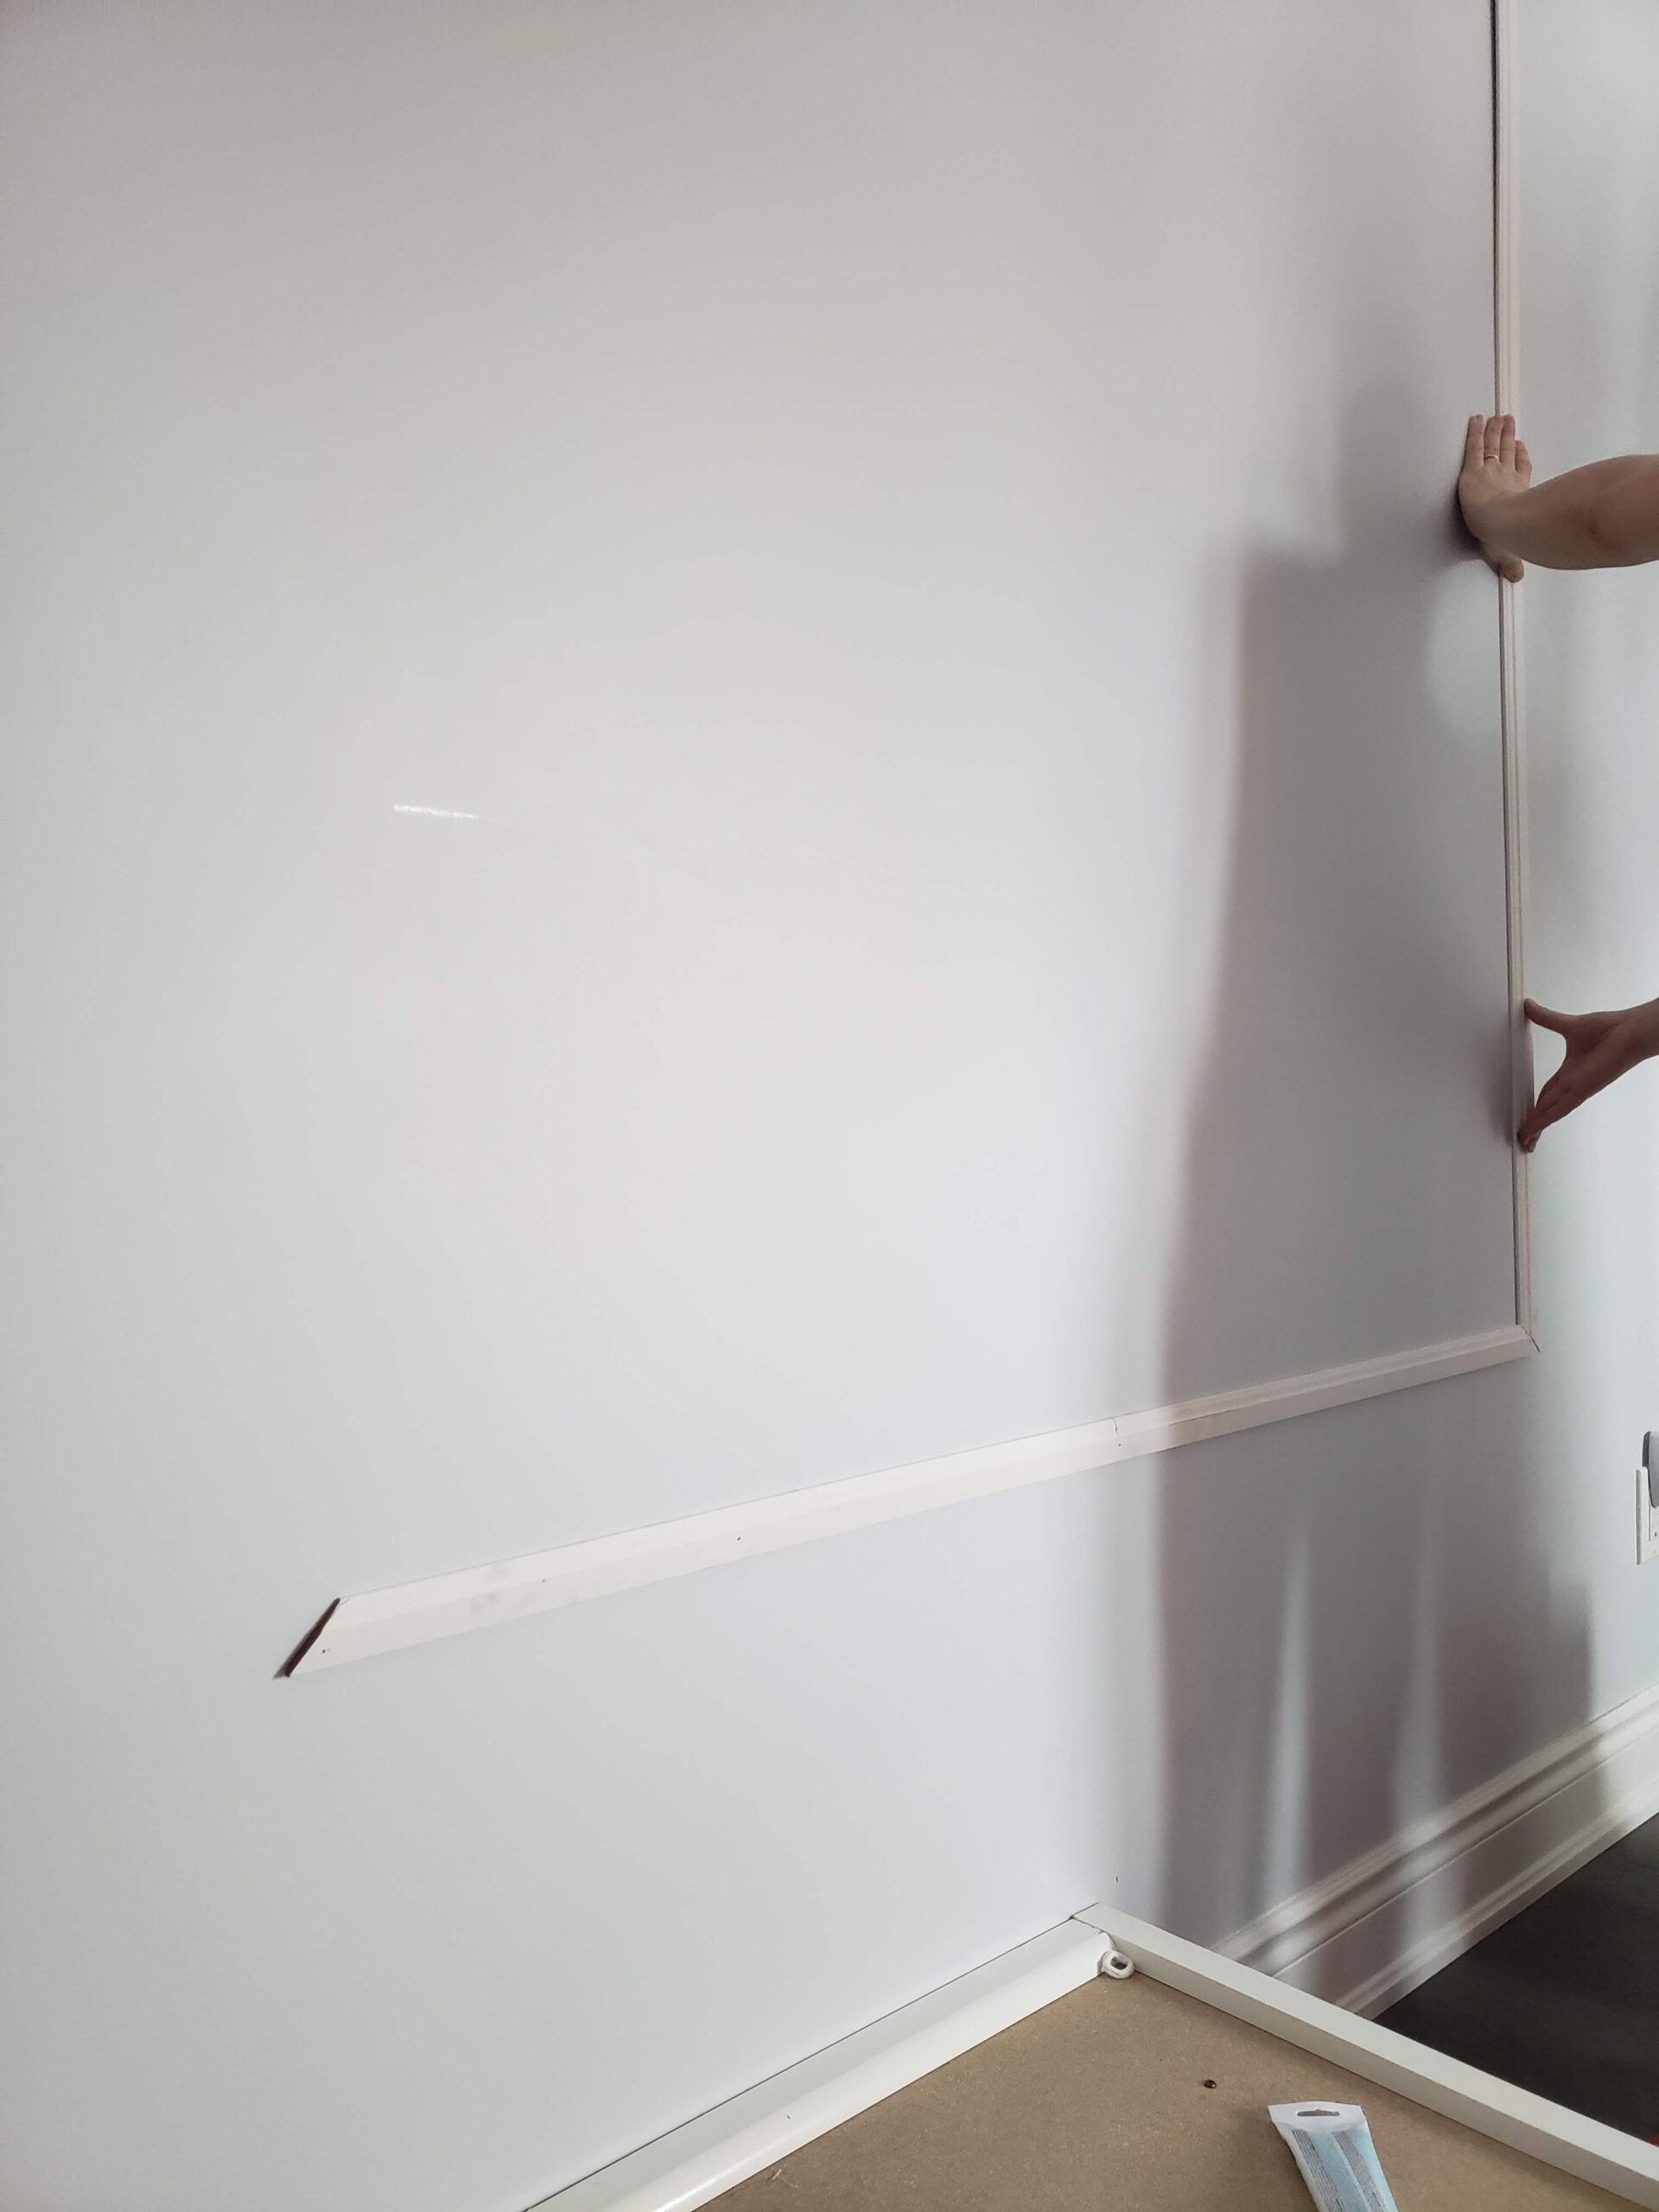
Ok – so I didn’t do the measurements…. but I was watching my husband do it and it seemed fairly easy and they got it done within 30 mins!
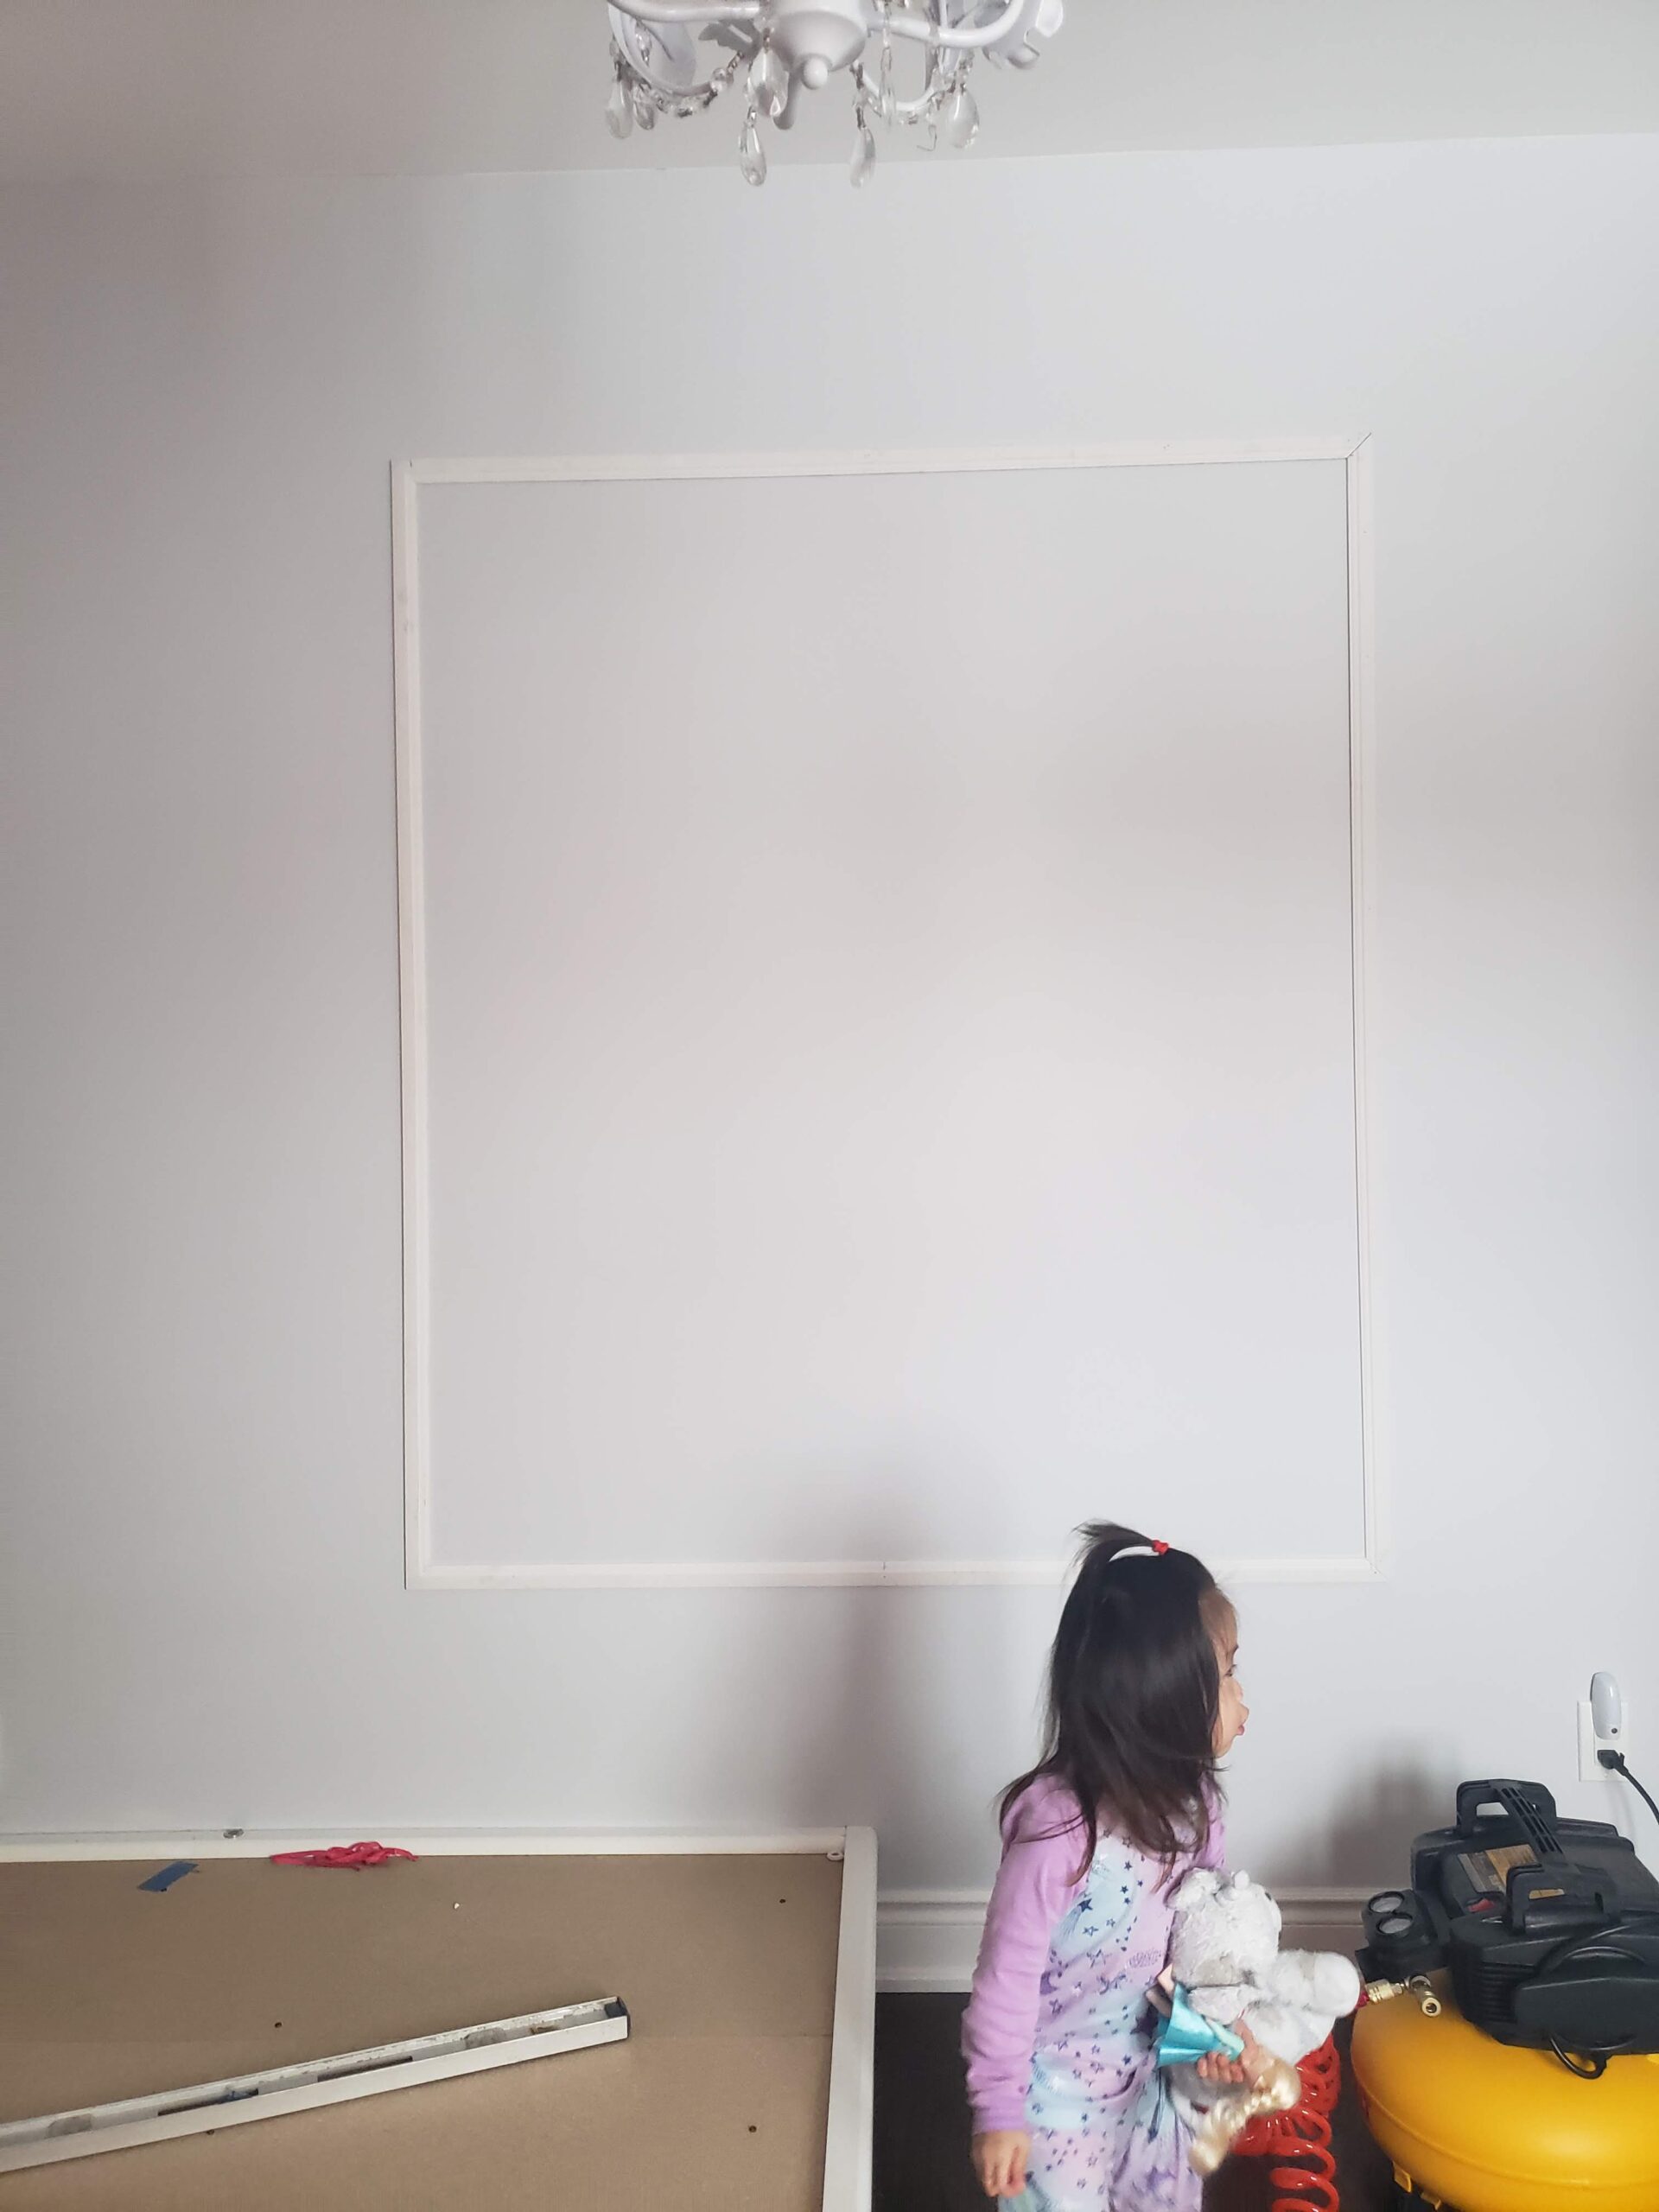
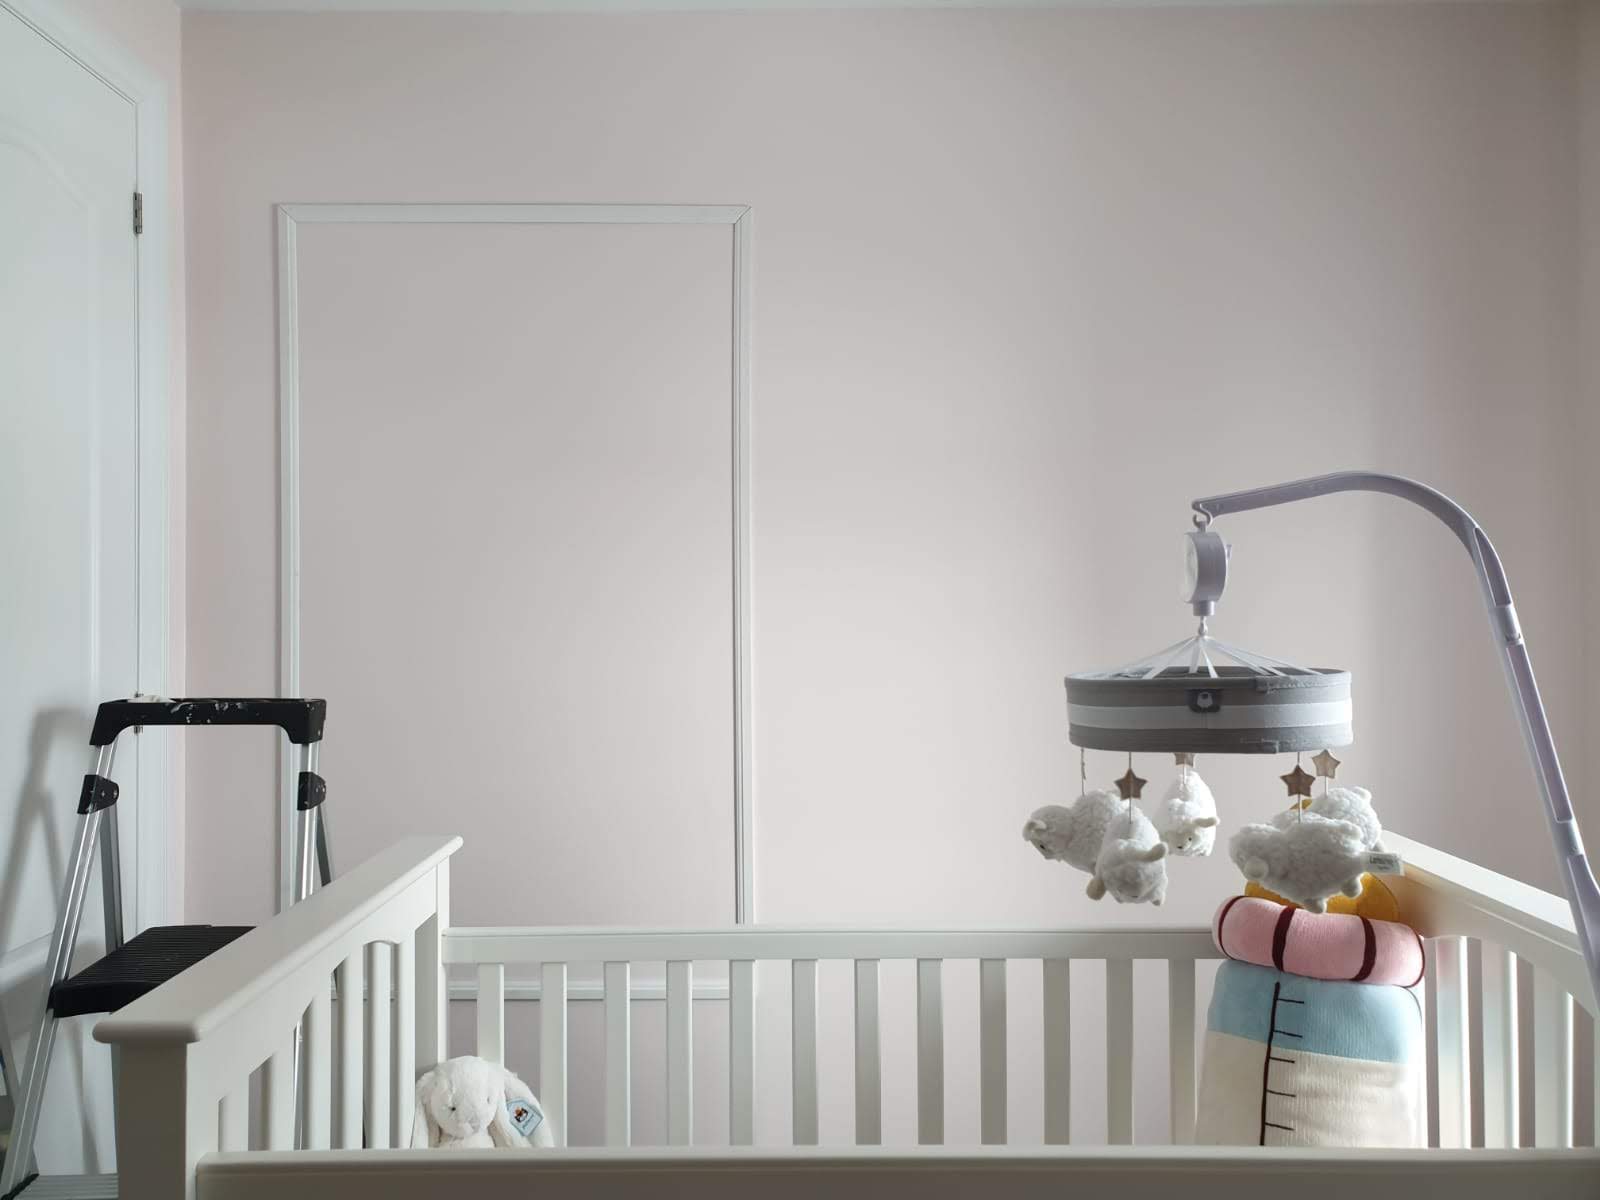
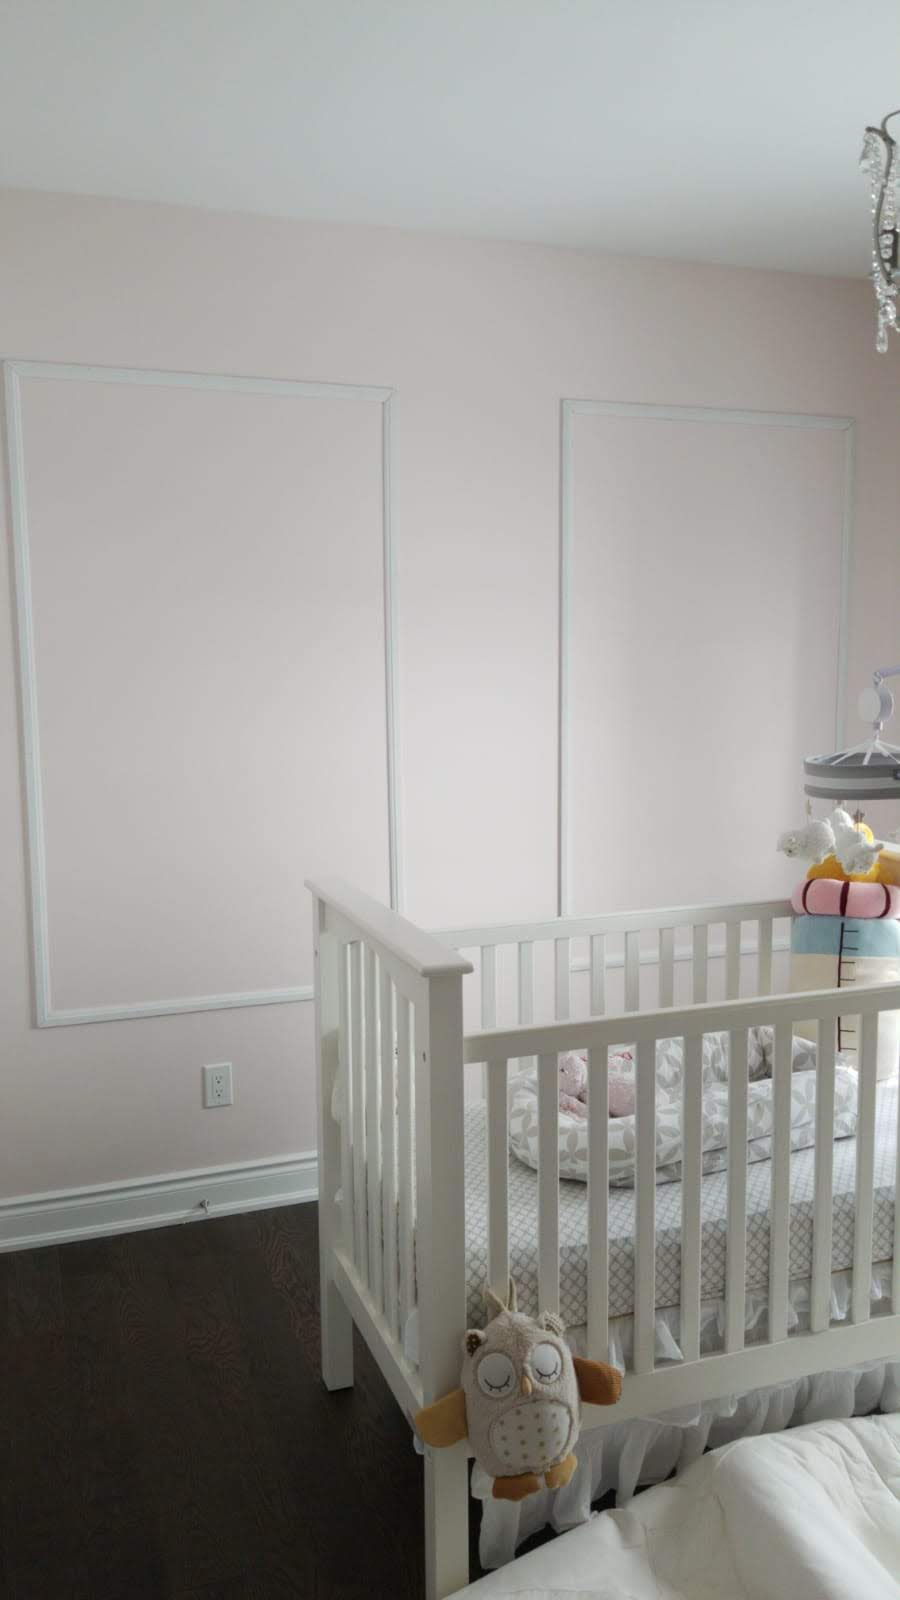
And finally – PAINT! It’s hard to tell in the photo below – but the right one is being painted and the left one is currently unpainted.
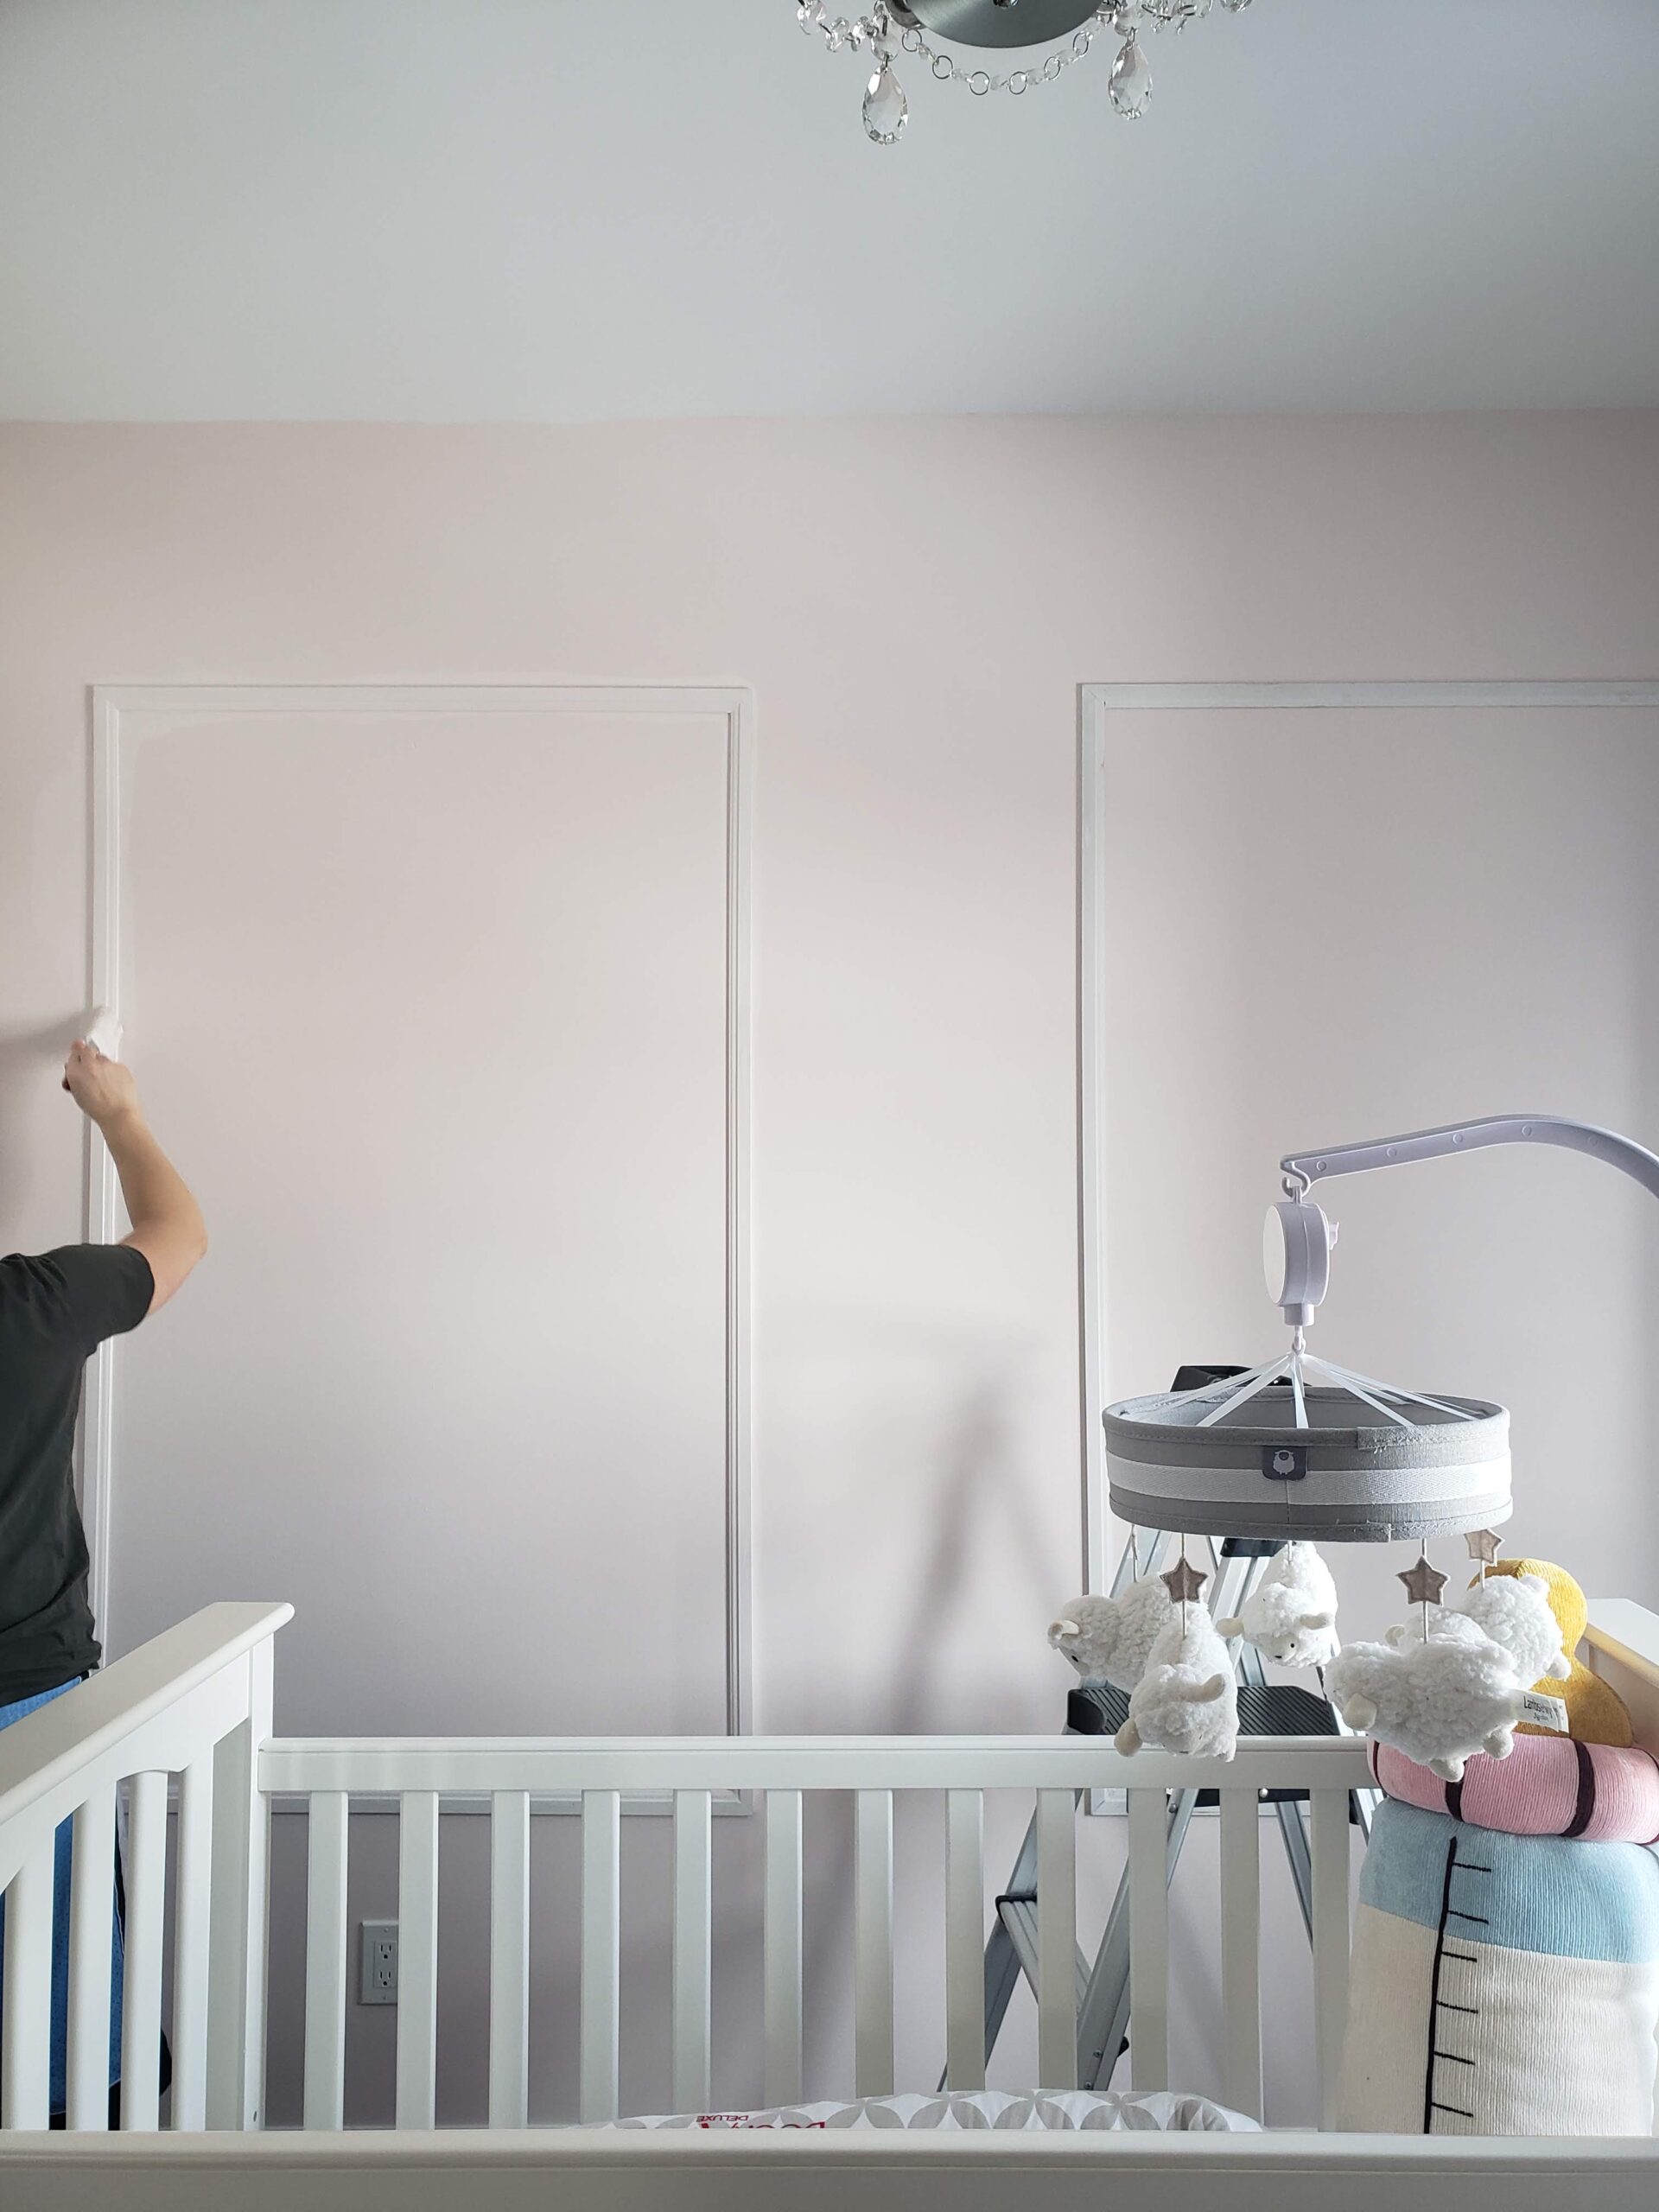
And………… the room is almost ready! I am still missing some final touches which I will cover in the next blog post! But for now – here’s the final product of the frames in the nursery room 🙂

Thank you so much for reading.

