Hi Everyone,
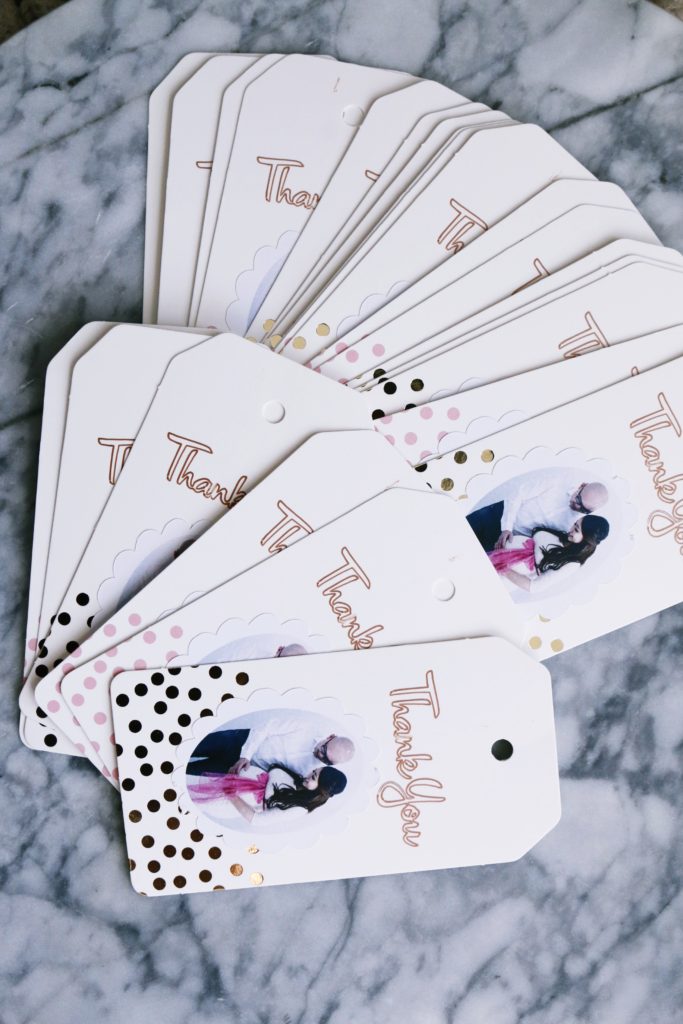
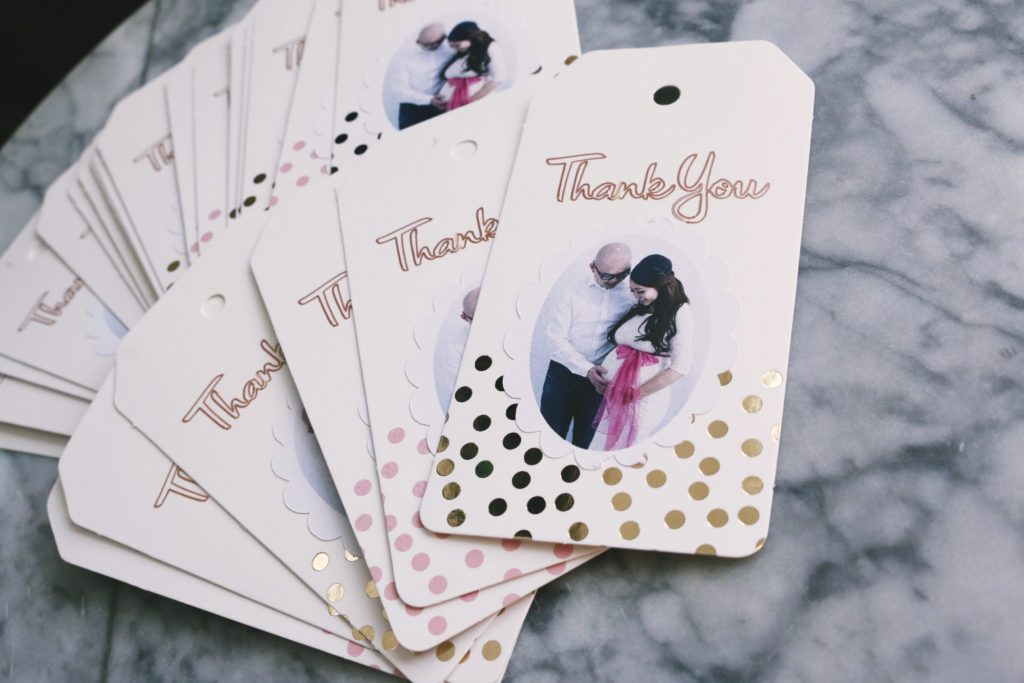
A little while ago, my awesome friends threw me a baby shower, being a major planner that I am I can’t help but plan something!! I was pretty much kicked out of my baby shower planning because they are just too sweet and didn’t want me to plan anything for the shower. They did allow me to do one thing, favors!
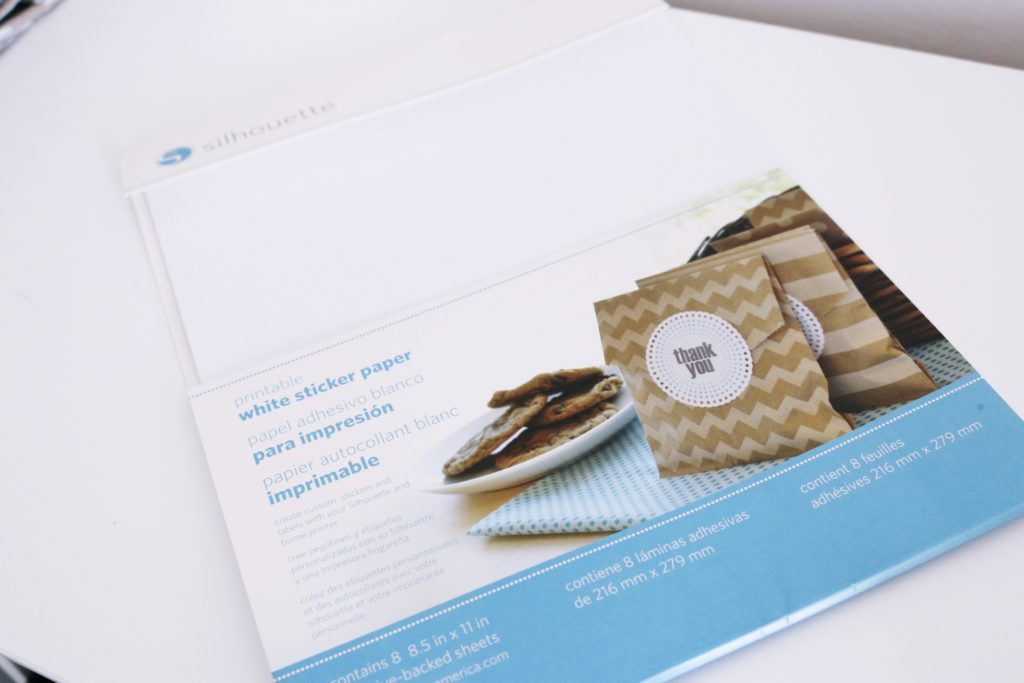
I’m so excited to share with you how I made my own sticker labels using the Silhouette Printable white sticker paper.
Supplies you will need:
- Silhouette Cutting Mat (Cameo 12 X 12 in.)
- Silhouette Printable white sticker paper
- Personal printer
This method will work with any standard printer. However, to make things easier, you could purchase one of these portable printers that can already print labels. It would save you a lot of time, for sure. However, if you already have a printer, my instructions are below.
I recently got my maternity photos back and I really wanted to use them for the baby shower, so I had this idea to make labels with them!
Step 1: Choose your picture
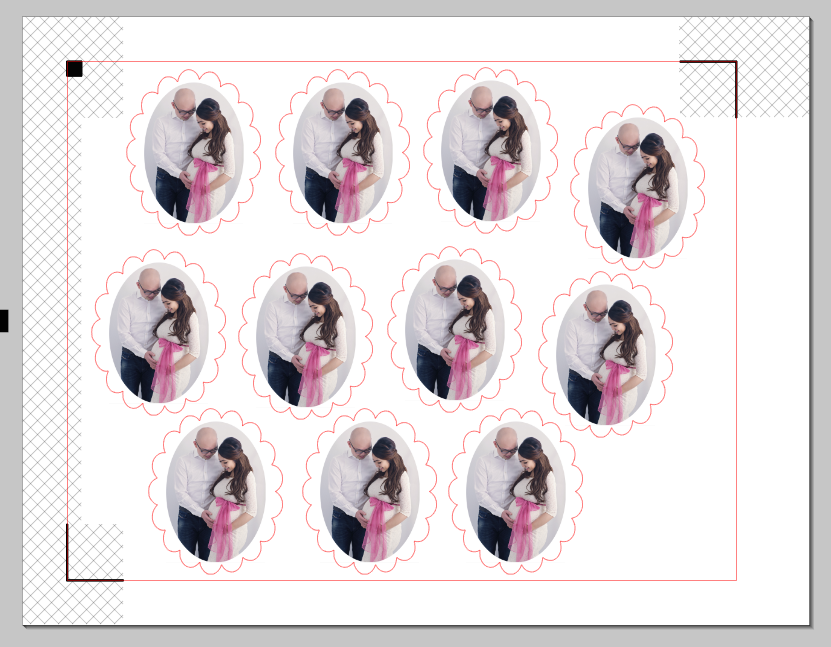
- Create a new file with “show registration marks”
- Make sure you check the registration marks options panel. This is important because this will let your Cameo where to print!

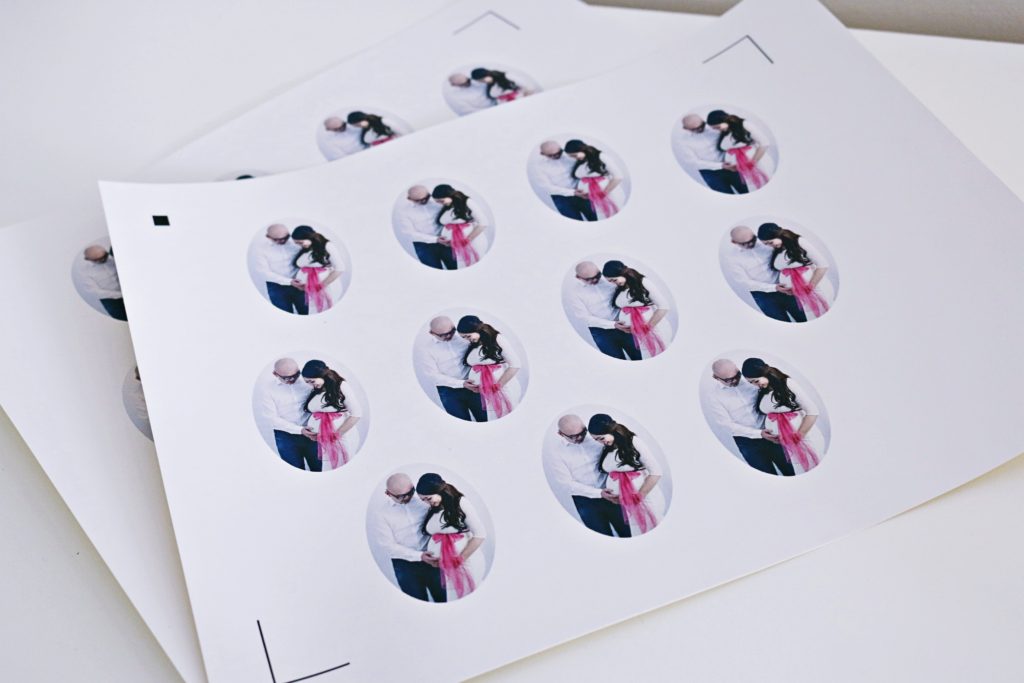
Step 2: Print your job to your regular home printer.
- Load the Silhouette white sticker paper to your printer, make sure it is right side up
- Hit print!
Step 3: Choose a cut boarder you want for your picture.
- I choose a very simple design because I liked the simplicity of it.
- Place your printer sticker paper on the cutting gmat and feed it into your Silhouette electronic cutting tool.
- Make sure when you are cutting that you select the “Printable Sticker paper” and adjust the blade as indicated.
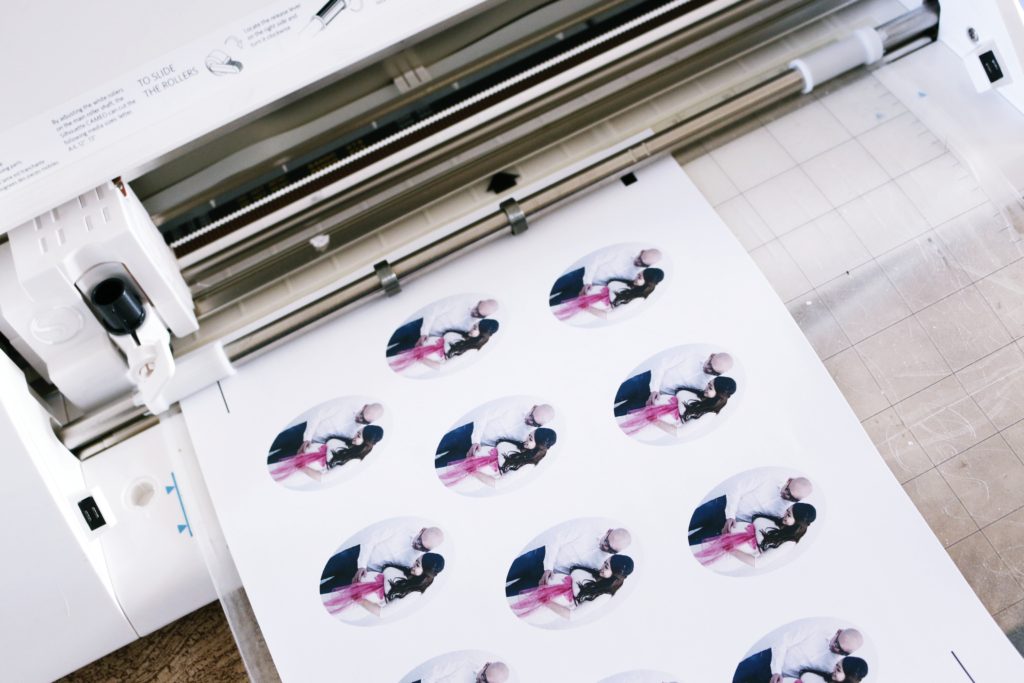
Step 4: Click “cut”
- Place the Silhouette printable white sticker paper on the cutting mat
- The Silhouette optic scanner will read the registration marks and start cutting
Step 5: You are done! Just peel
- Gently peel out the shape
- Now place it on whichever project you desire.
Thanks so much for reading,

