Hi Everyone,
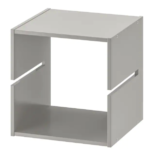
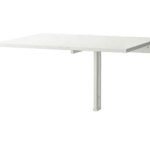
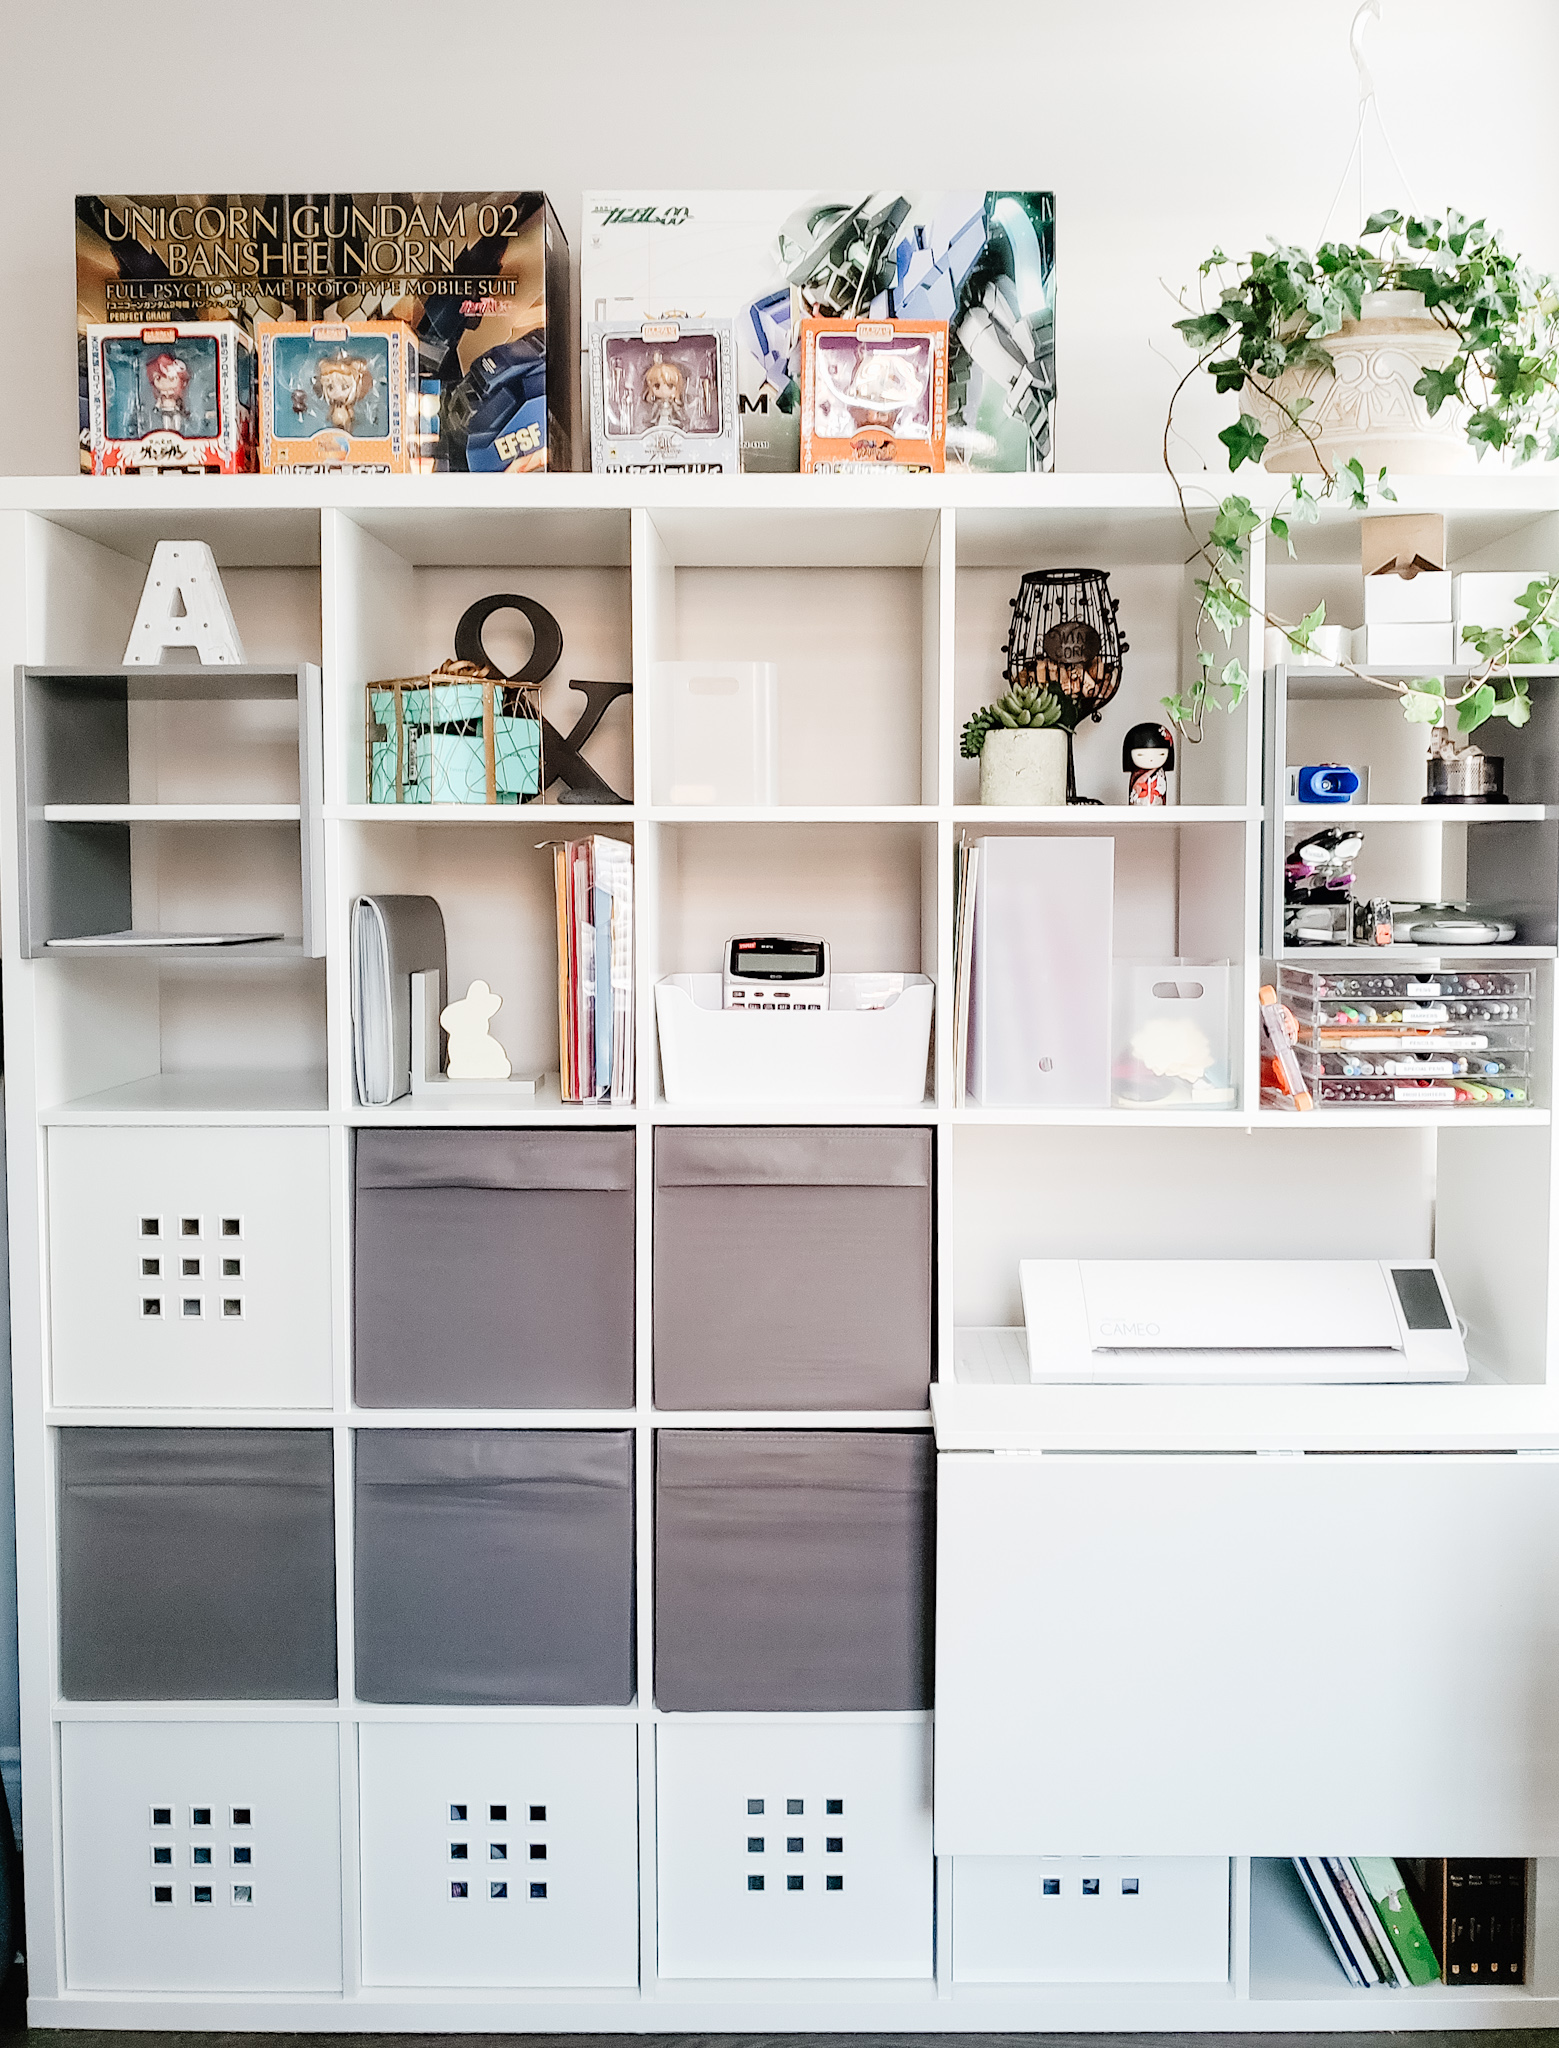
I really want to share with the IKEA Hack we’ve done recently! It’s the Norberg fold out table with the Kallax Shelf. We attached the table on to the Kallax shelf to save some space. We didn’t want to put a second table in the Library room.
View the video review here:
Kallax Shelf with Norberg Table (folded down) see the next picture for the Norberg Table (folded up)
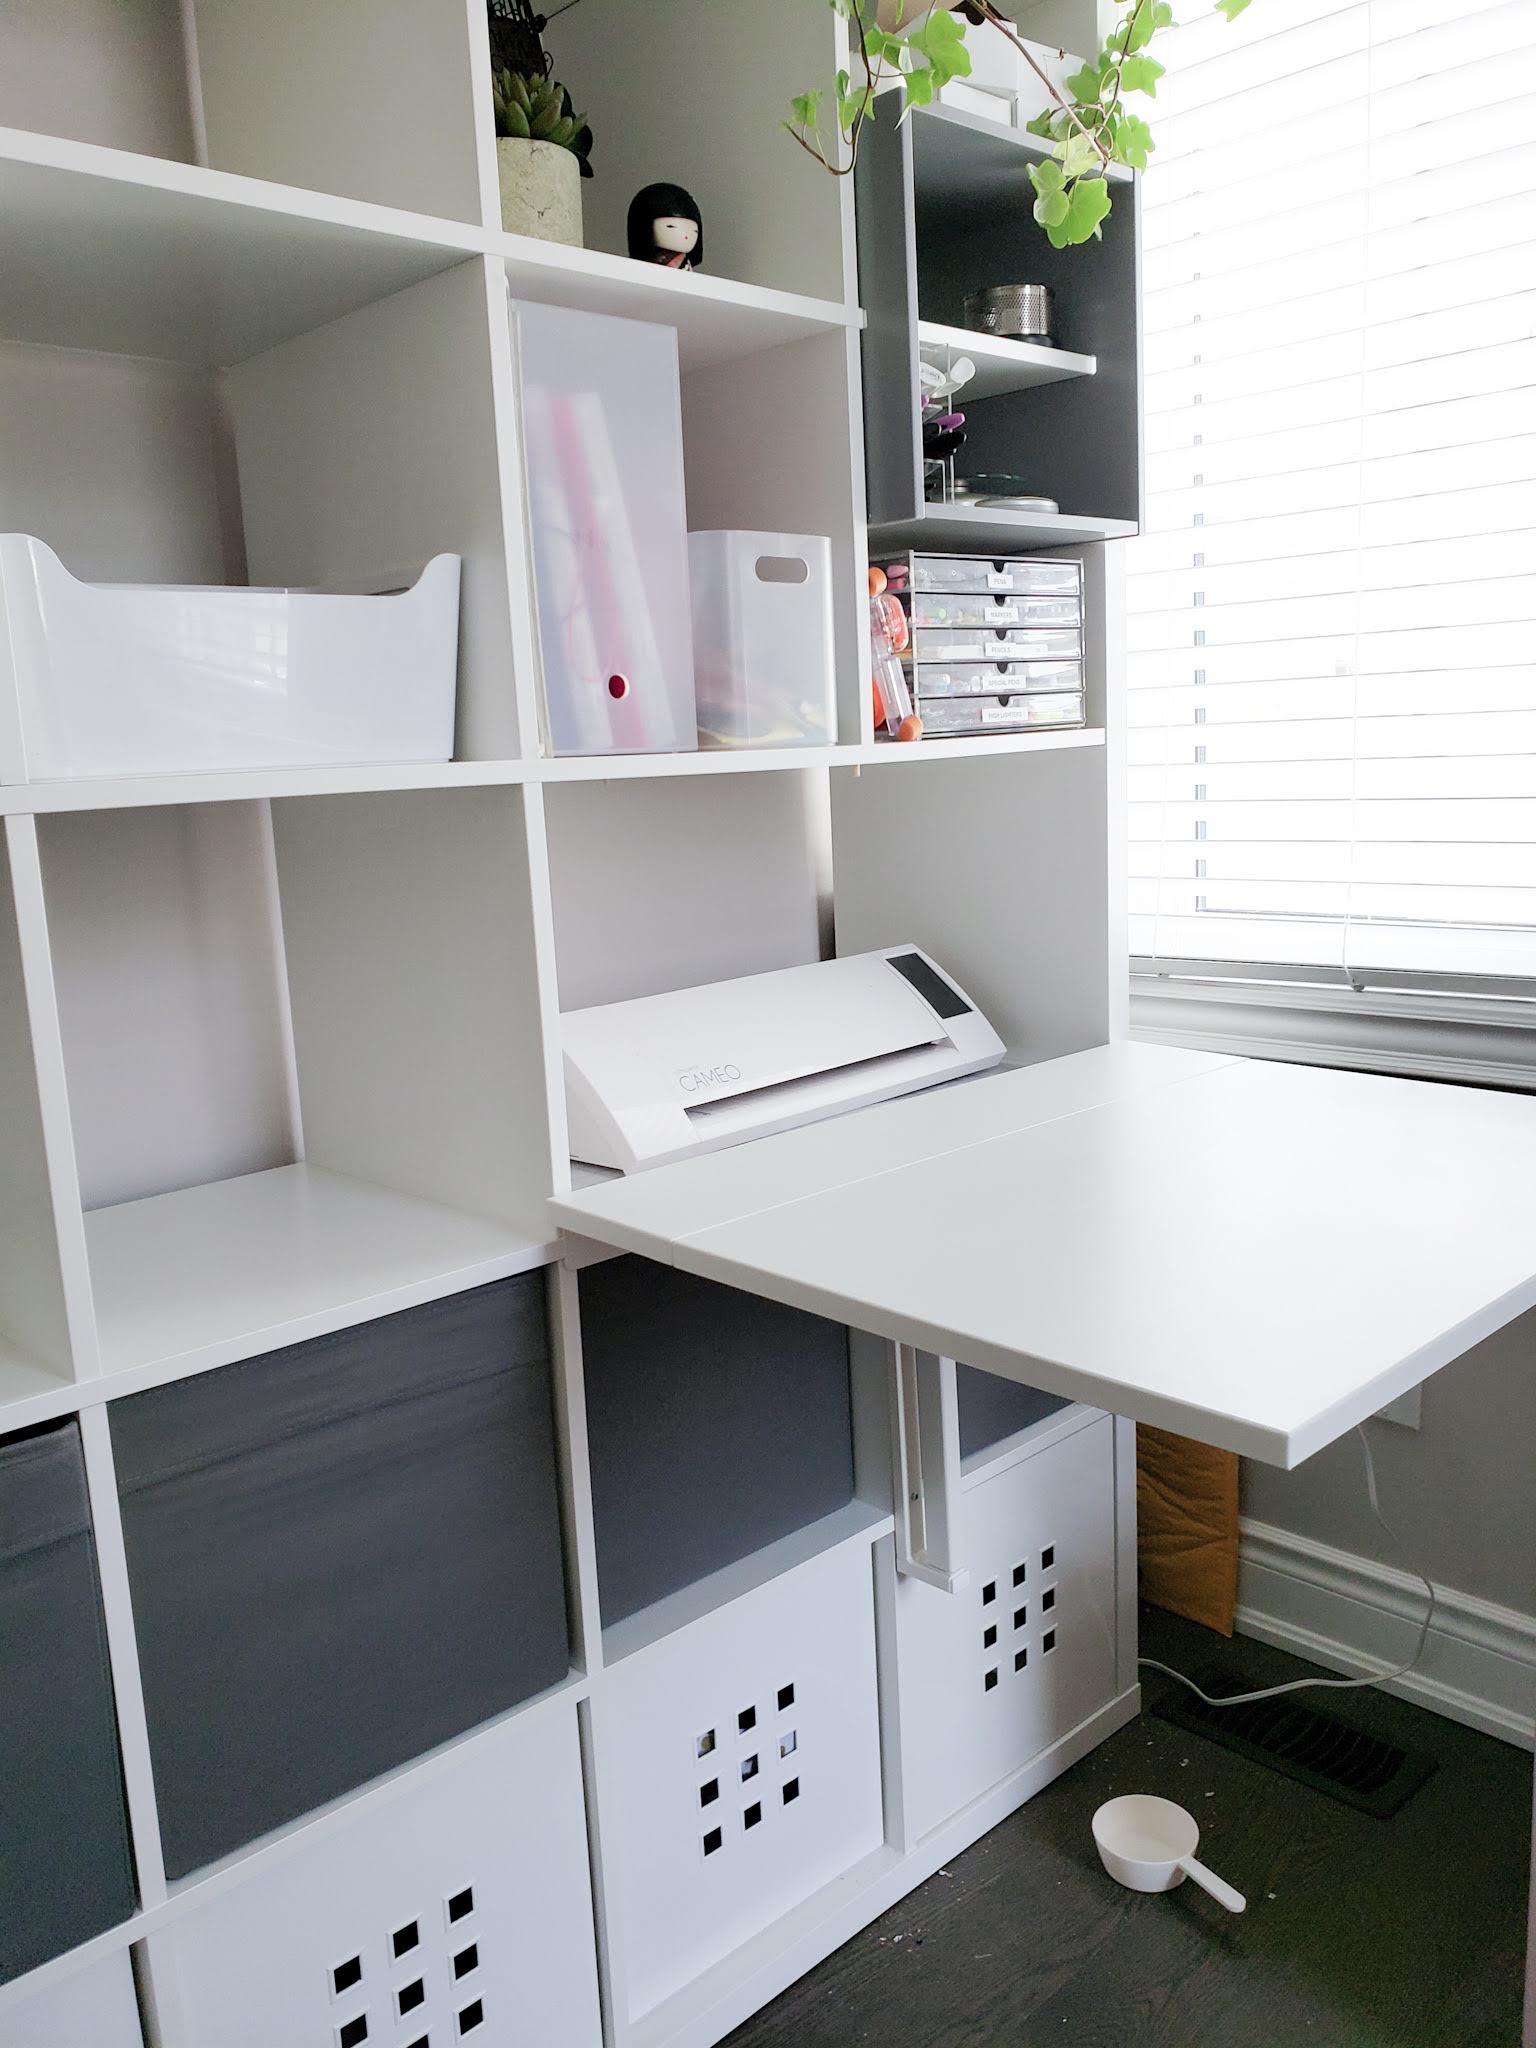
Norberg Folded up table
Materials: 1 KALLAX Shelf Shelf unit, white, 71 5/8×71 5/8 ” (182×182 cm) , Norberg Table, Insert (2)
Cost:
- KALLAX Shelf ($249)
- Shelf Divider ($20)
- Norberg Wall – Mounted ($59.99)
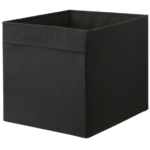
- 5 X Drona Box – ($5.99)
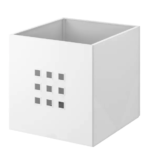
- 5 X Lekman Box – ($14.99)
Total Cost: $433.89
I really wanted a craft storage for all my supplies here are some of my must needs:
- LOTS of storage
- Able to fit my Silhouette Cameo
- It has to be versatile
- Simple and clean
- Does not take up too much space
Instruction #1
Ensuring Build the Kallax shelf WITH room. We tried to build it in the room, but obviously it didn’t fit on the floor. As you can see, it’s 6ft by 6ft, so we ended up doing it on in the living room.
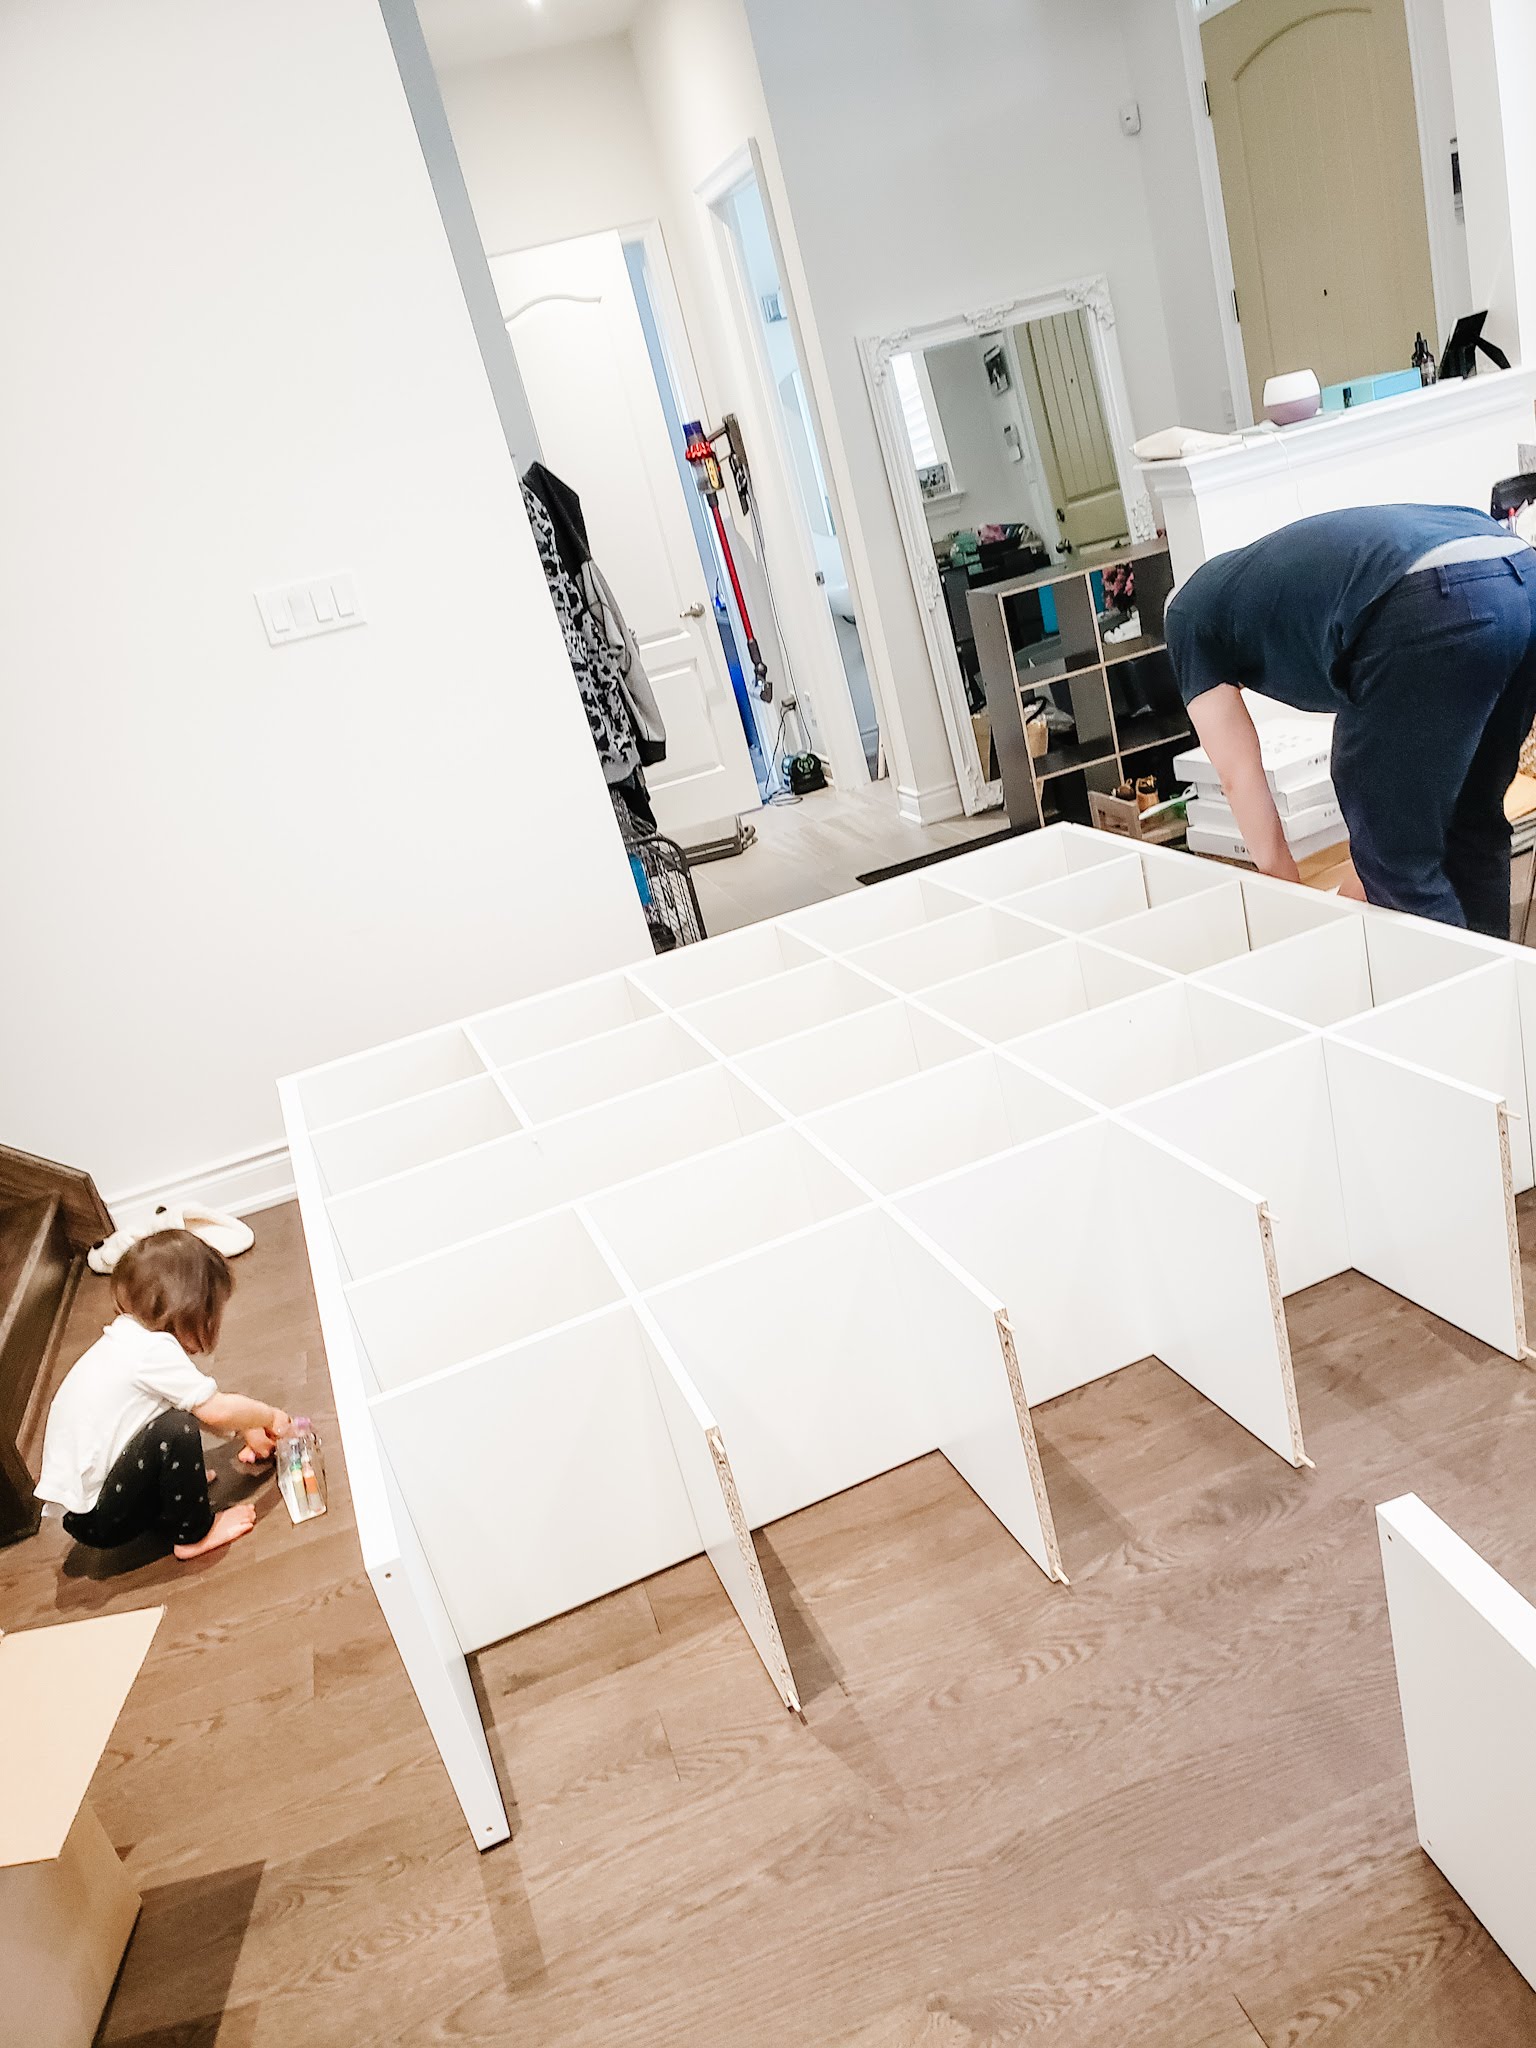
My daughter was fighting with me to build the shelf too. She really love the screw drivers!
ONE PROBLEM when we did the shelf in the living room. We have a step that goes down to the library room. So the husband and I had to lift the shelf down the step, and this shelf is HELLA heavy!
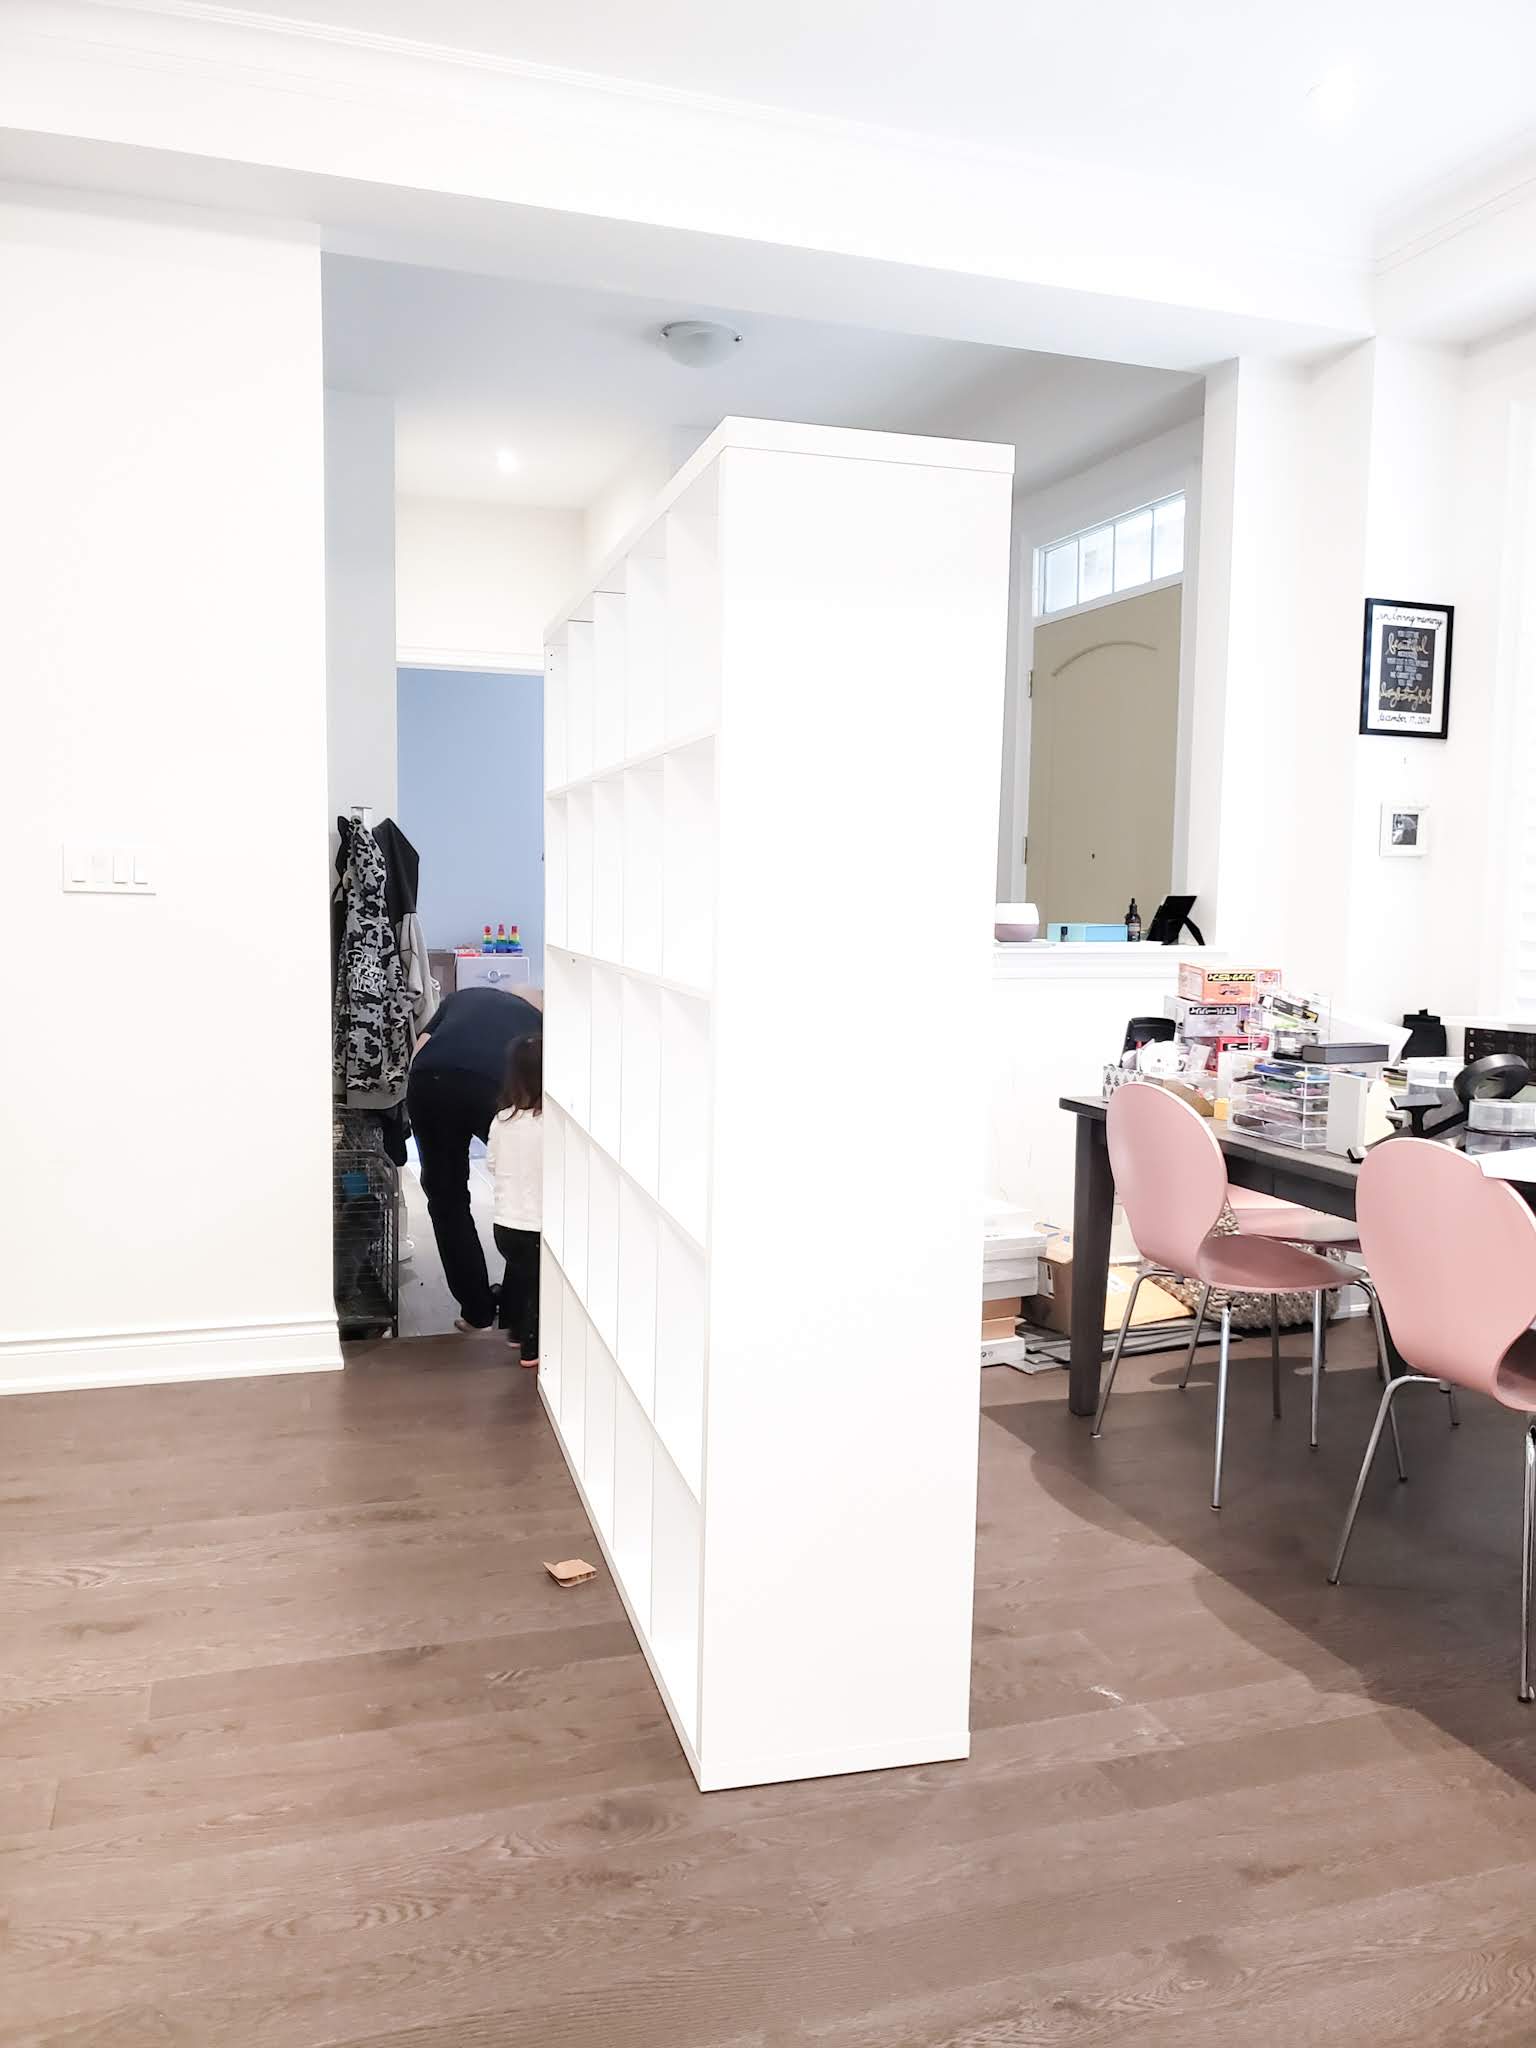
Here’s a picture of it while we are trying to move it down the step. My daughter was trying to help as well. How sweet of her.
Instruction #2
Assemble the Norberg Table. We bolted it on the Kallax Shelf, this part needs two people, one to hold the table up and one to drill the table onto the Kallax Shelf. We first bolted the top part of the top shelf.
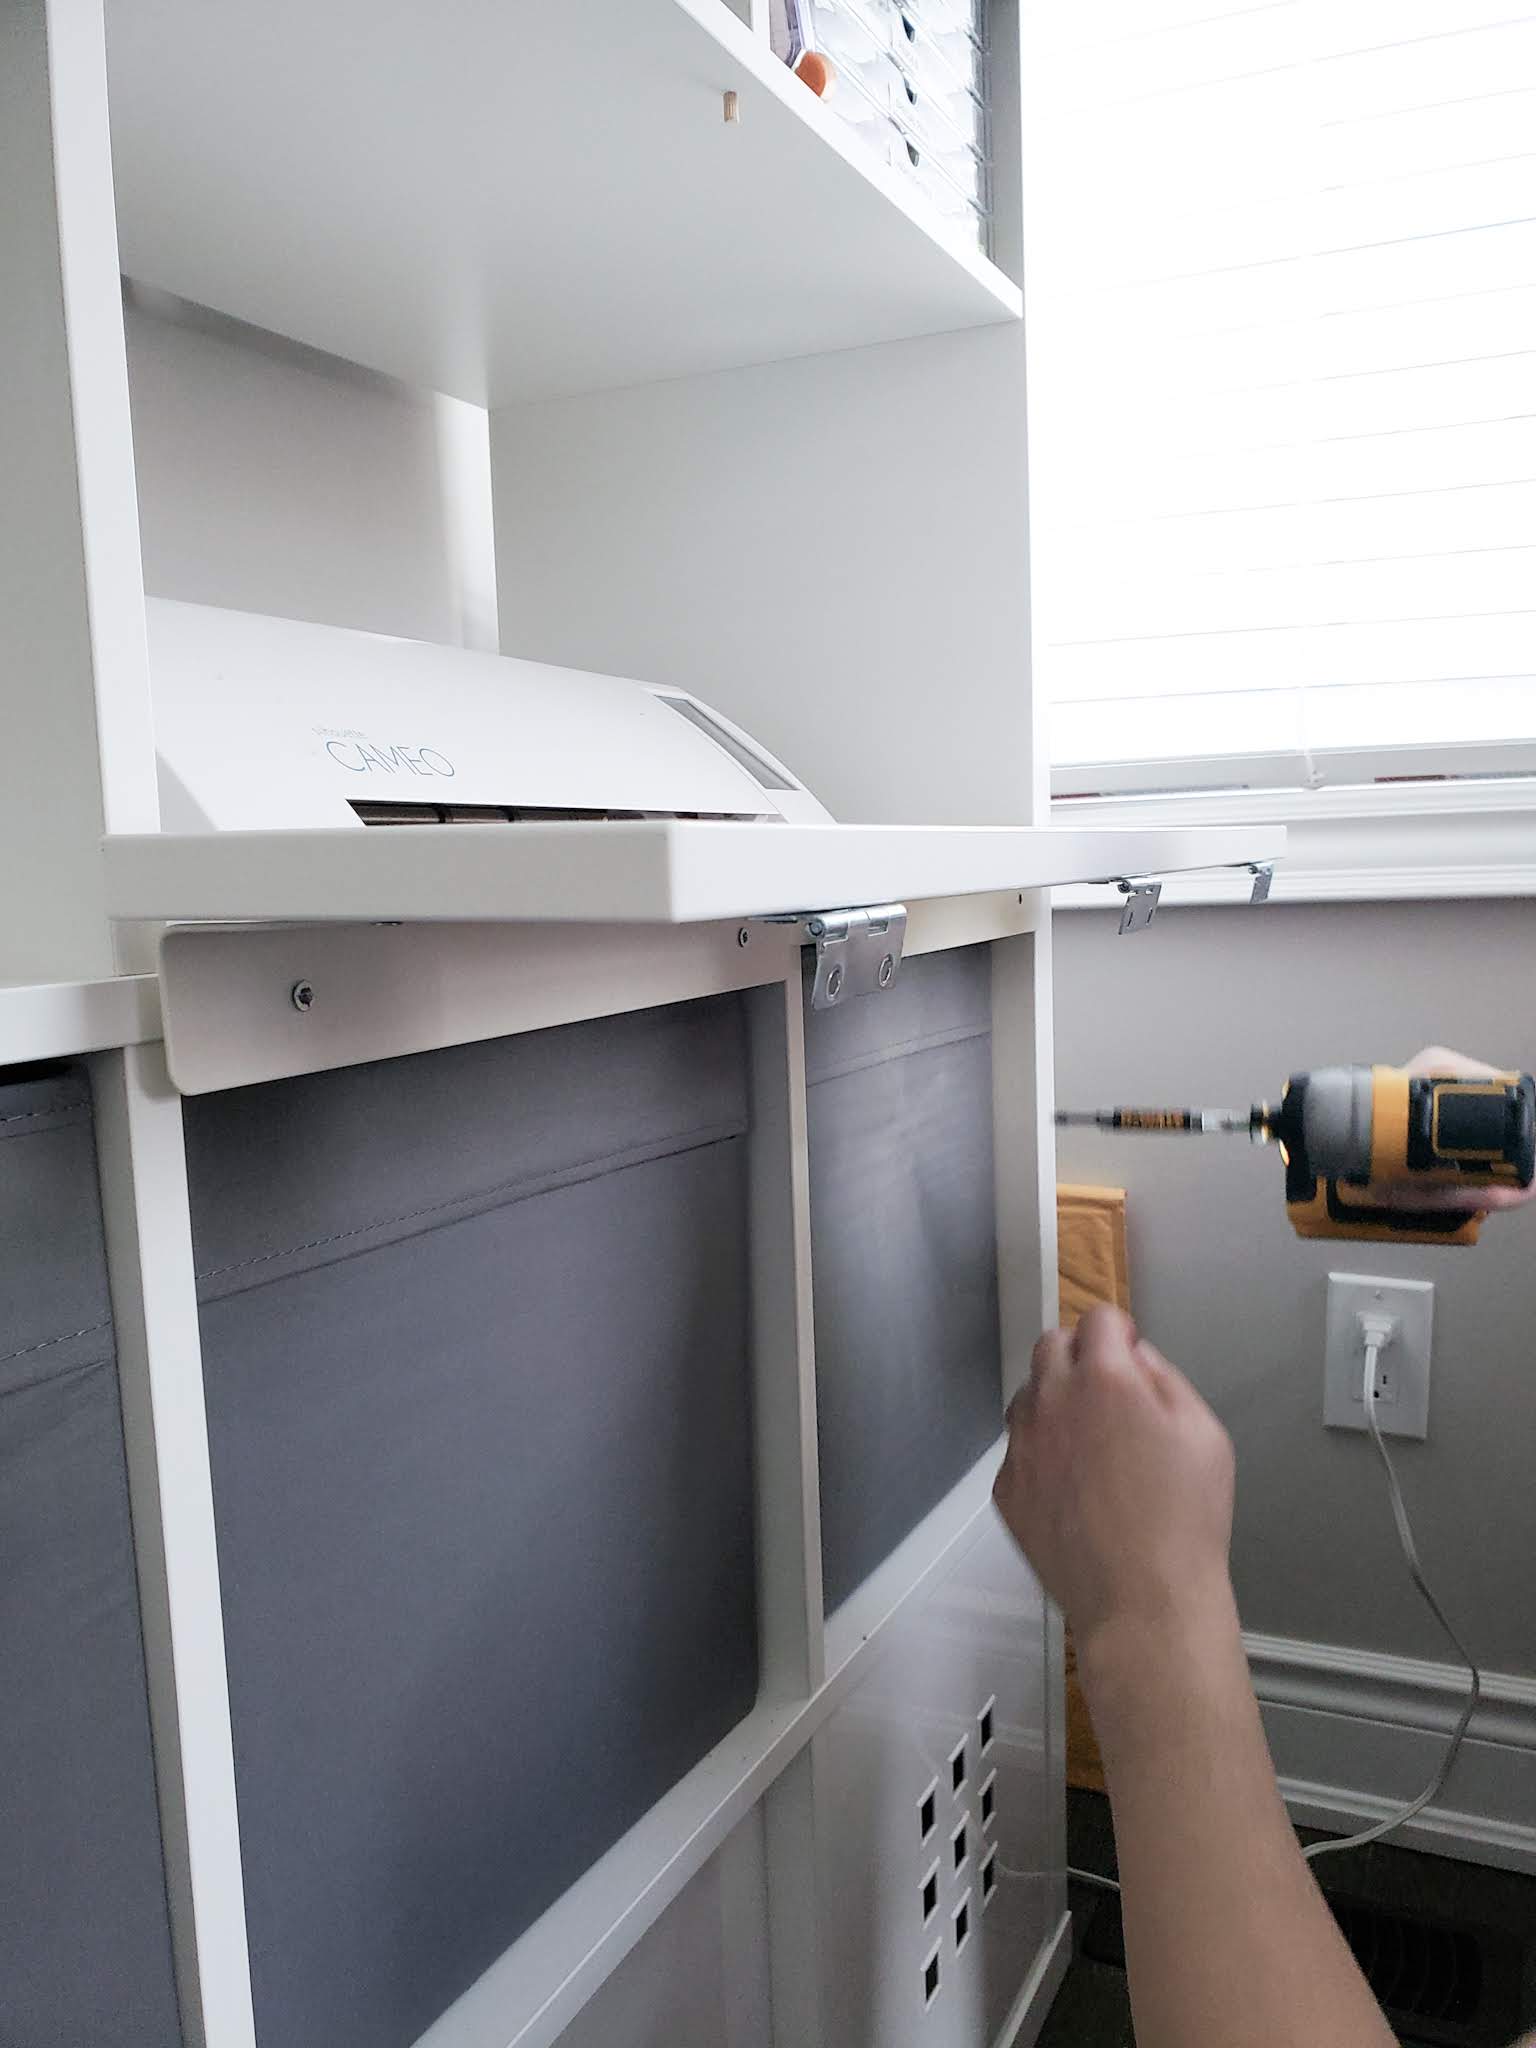
Then we added the bottom piece and bolt that on the shelf too.
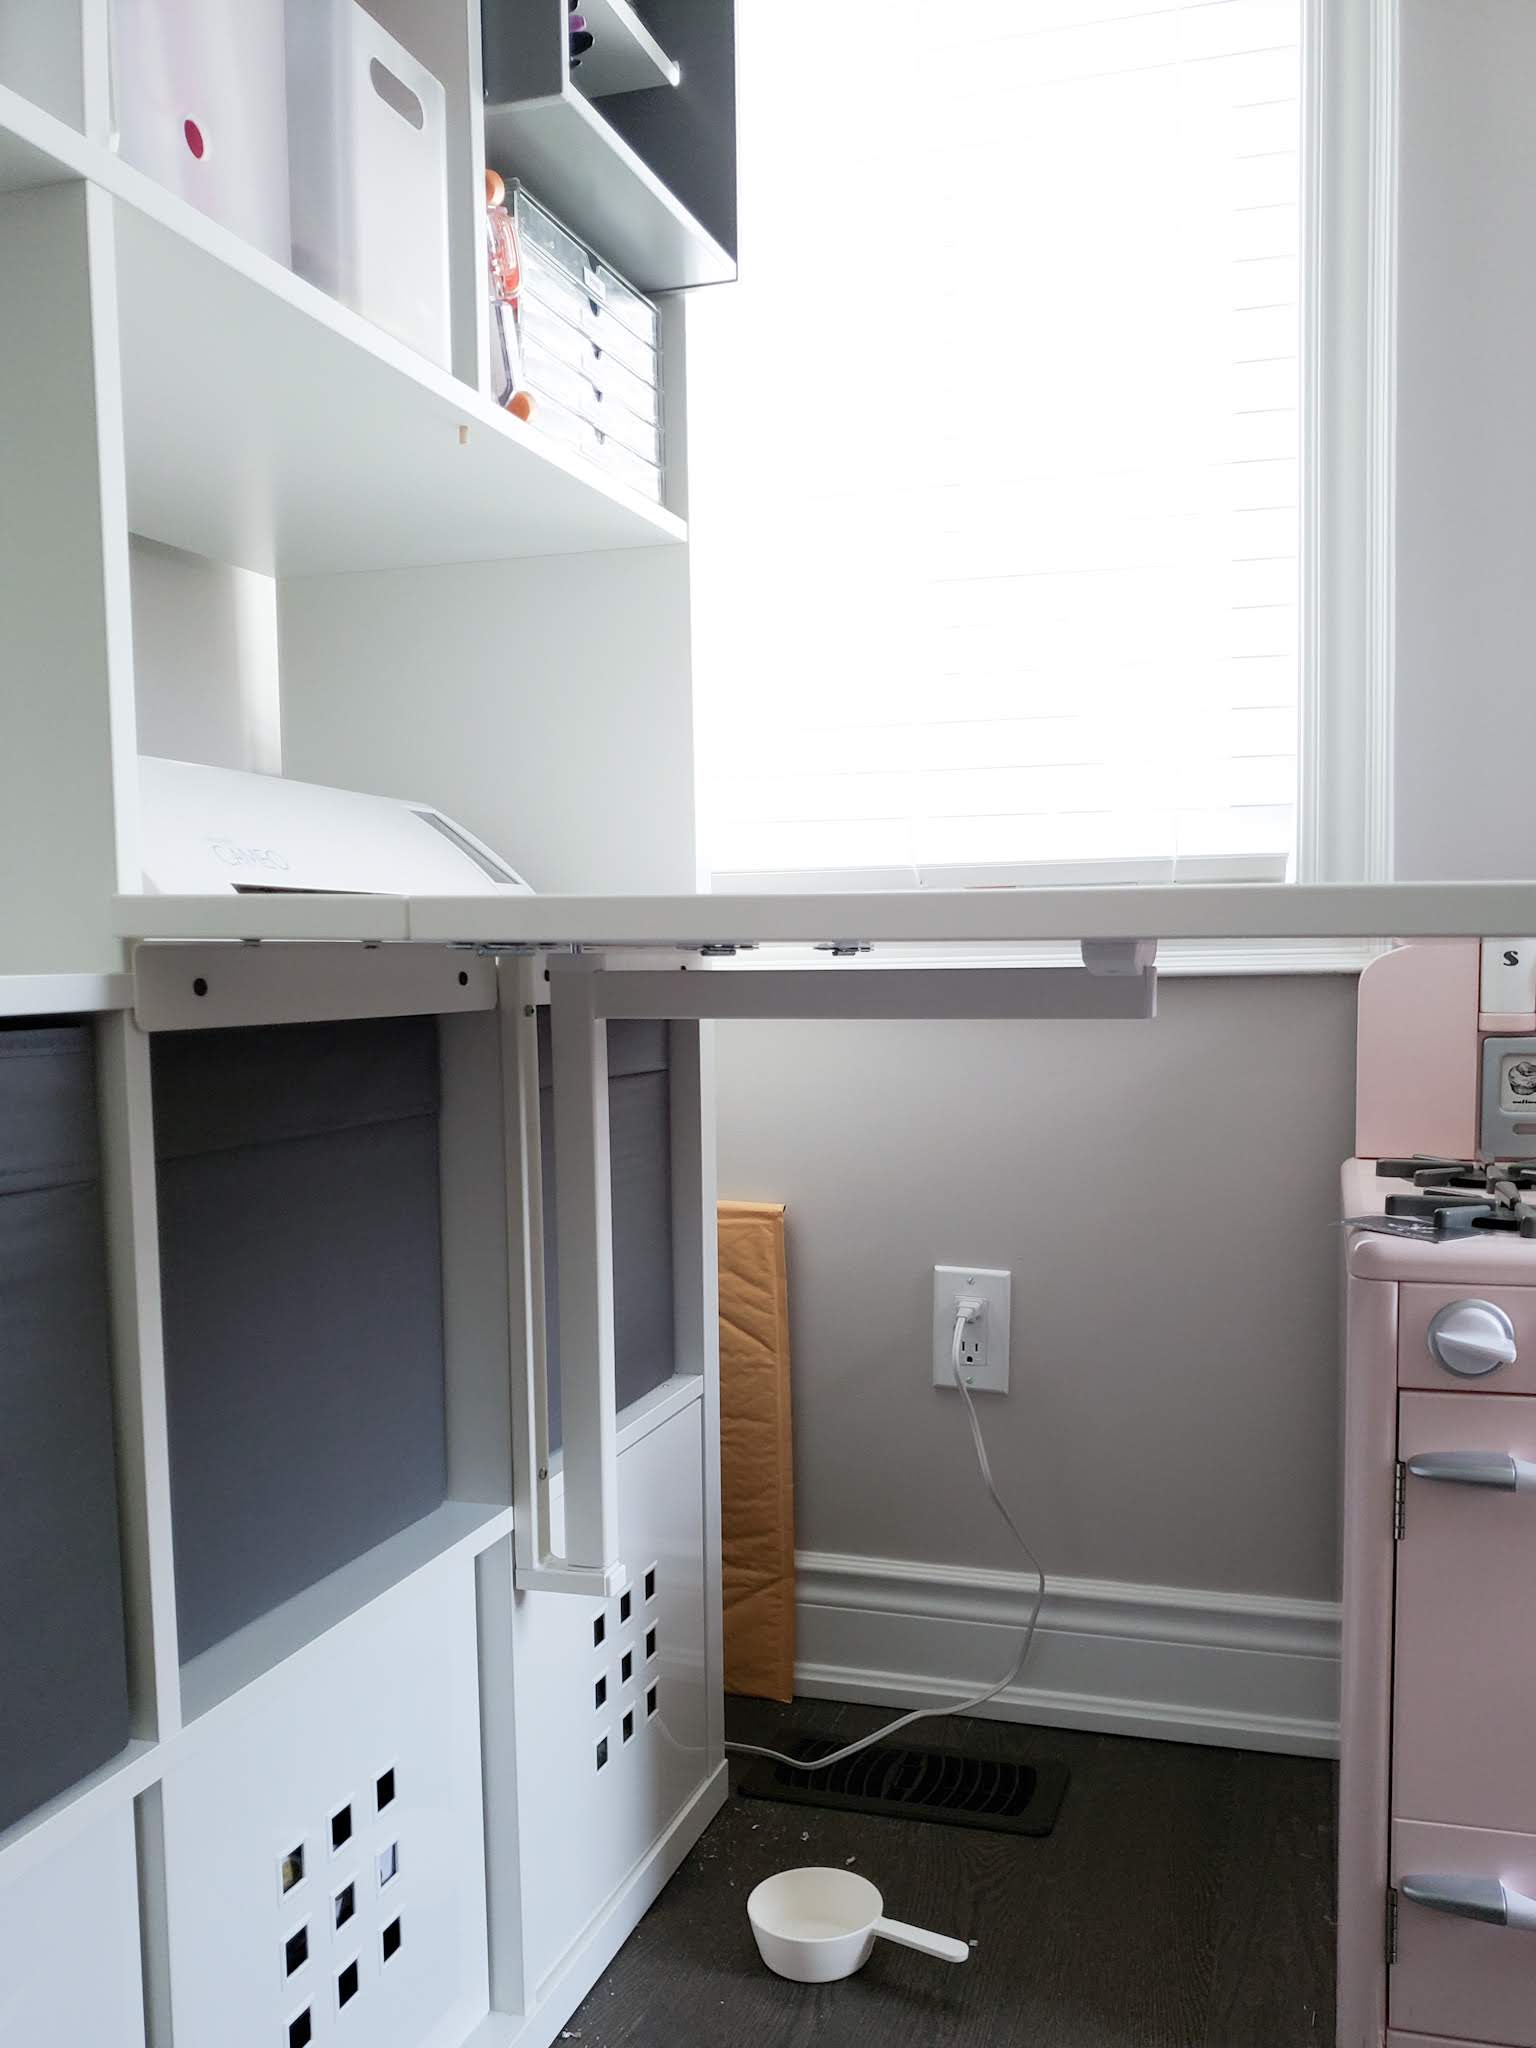
Some issues:
While it’s pretty near perfect when we bolted the table onto to the Kallax Shelf, you would have to be careful and MAKE SURE it’s PERFECTLY aligned, even 0.01cm off you would run into my problem. I couldn’t fit the Lekman box, Because it’s a hard box, there’s no wiggle room. However, if you decide to go for the Drona Box, I don’t forsee any issue as that box is more bendable. But because those cubes are so low and underneath the table – it was very hard to make that a use able space. I would just put things you wouldn’t need normally. For me, I opt for my daughter’s toys and some photo albums.
Overall
I loved this idea and it really saved space in our library room. It’s usable and it’s very clean looking. I love how I can always change it up later on if need be.
What do you guys think? Would you do something like this?
Products used:
Thanks so much for reading!
